It’s an exciting day here today at The Petersen’s home. Recently we heard about an amazing new product by White Knight called White Knight Ultra Pave. Word on the street (well among all the YouTubers and tradies we spoke to) was that the concrete covers easily (in two coats) and is very resistant to damage. My hubby Richard Petersen (a master painter who works on millionaire homes) was sceptical. He’s used most products on the market and he didn’t believe there could be a product he didn’t know about that could be that good.
So these were my 10 goals for this project:
- Put this ‘amazing’ product (White Knight Ultra Pave) to the test on our dirty old shed floor
- Launch our new website ‘Room Reveal’ showcasing our six year renovation project, the savings we made (over $70k) and much more.
- Transform the shed for a budget of just $200 (because well… you know I’m always on a budget)
- Get the kids off digital for an entire weekend & get them working
- Clear all the clutter we’ve accumulated from living in a home with so many rooms (when we declutter the house it ends up in Richard’s shed!)
- Clear out the shed and create a space for the kids to ride their scooters in if they want
- Create a man cave for Richard to enjoy a beer with his mates
- Include a nice and comfy space for Richard and I to enjoy a few Friday night wines and a natter that isn’t too blokey
- Get a bit of exercise and lose a bit of weight lifting and lugging stuff around all weekend
- Get it done within one entire weekend starting Friday night
These are the exact steps we took to get this job done:
Step 1: Take a Before Shot
I do this alot – even when I’m cleaning. Why? Because it is motivating. I love the warm-and-fuzzy satisfaction of looking at a before-and-after kitchen, bathroom or living room. We’ve taken it up a notch for this story because we filmed the entire process and it is so fun to watch this transformation in video format.
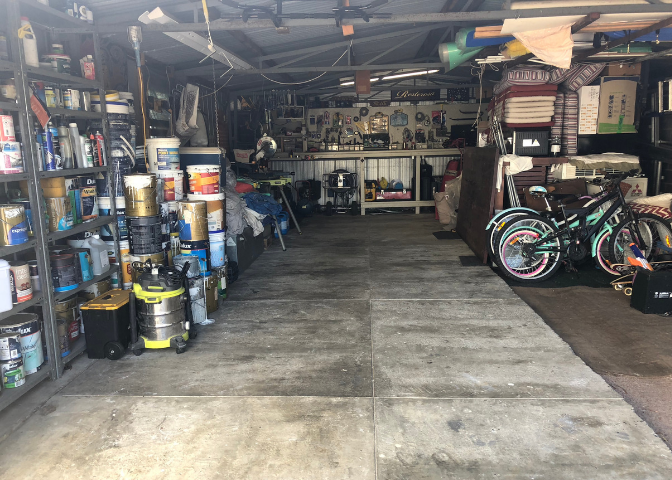
This was the shed before the transformation (poor Richard):
Step 2: Create a Plan
Never execute any project without a plan. If you read my blog you know I can save you up to $600 on groceries a month by using a simple plan. The same goes for renovating. If you don’t plan your project well and create a budget like my $200 goal you will absolutely overspend.
Tip: Try to use FREE tools for creating your plan. I used a free tool called Room Sketcher – which I find easy to use. I have also used this tool to draw up our entire renovation. Otherwise, just google ‘modern shed or garage’ to find an image of the look and feel you are after (note: see palettes next to include colour in your search).
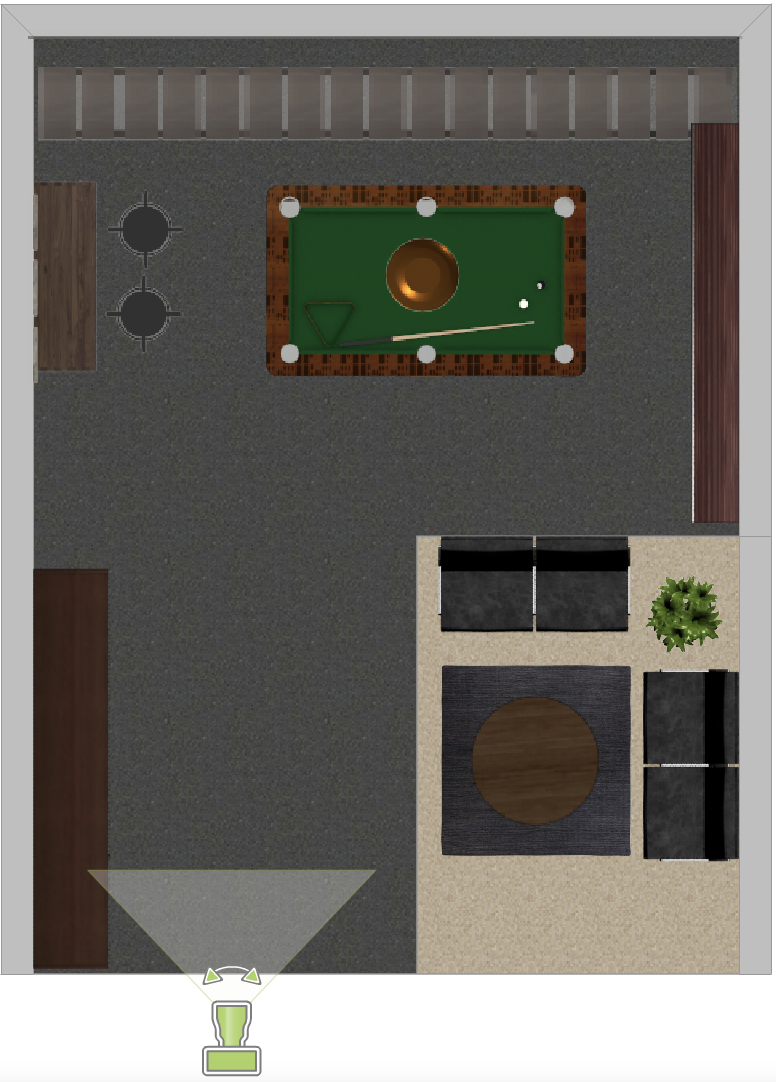
This is the plan I created. Make sure you make the plan ‘fluid’ as it may change depending on what you find at Op Shops and so forth.
These are the simple drawings I created at RoomSketcher:

Step 3: Pick a Palette
I wasn’t sure I could get the pool table for FREE on Facebook Marketplace – but this was our fluid plan and starting point.
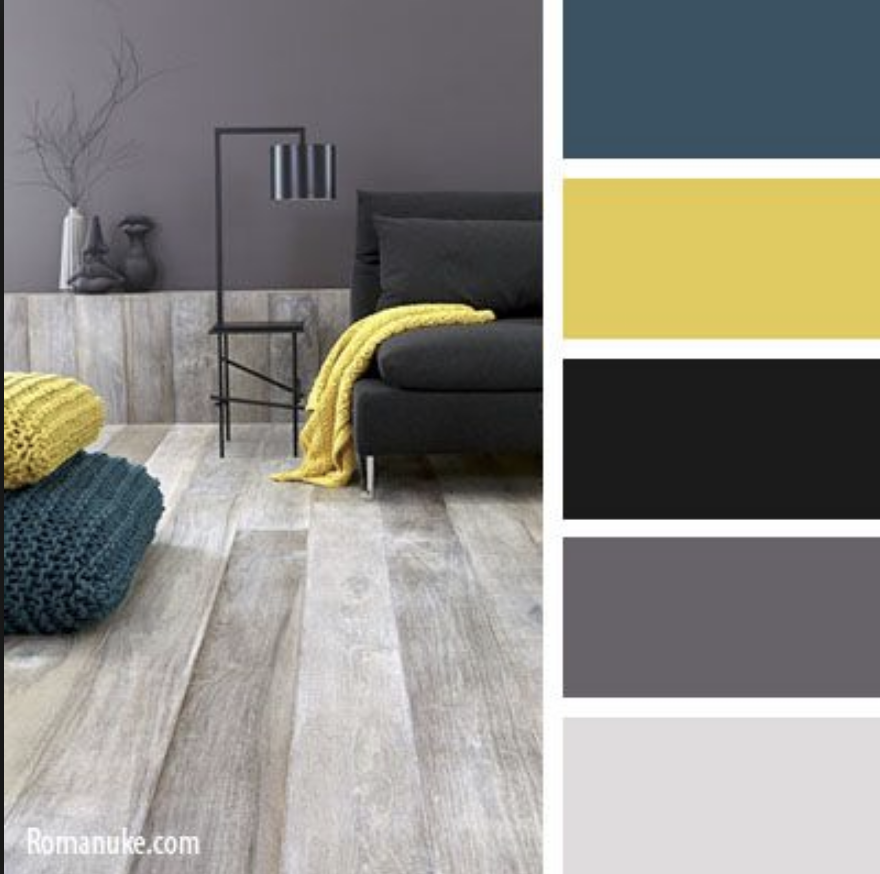
I learnt this little trick from creating websites. It is important to pick a palette for a room. You can use any palette that takes your fancy but I recommend picking just three colours for the shed. Two neutral colours and one colour to make the whole room pop. My choices were charcoal, silver/grey (the Taubman’s tint we chose for the White Knight Ultra Pave Paint) and finally yellow. I just like yellow. It’s a colour that makes me happy and other people happy, I feel. Our style is a mix of what we call ‘Club’ and we also love Scandinavian style. So we like to add a little wooden feel to our ‘Club’ look. Wood always makes a room look natural and not so clinical. This worked well in our makeover, because Richard had a heap of old school signs (he’s an ex-signwriter) and retro wooden pieces (like his old signwriter box) that fitted well with this choice.
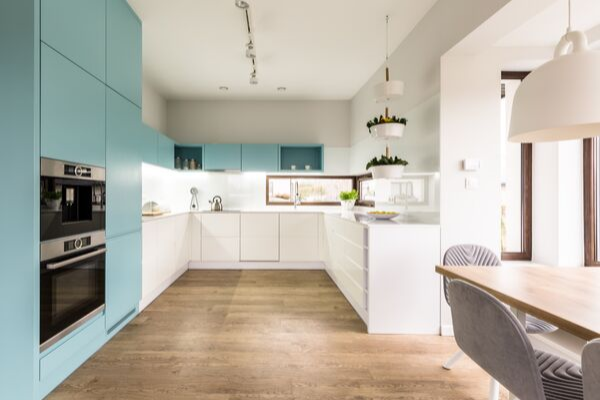
Here’s a palette I found online and what they look like. I just omitted the blue but we might add it in at a later stage. I thought it looked pretty blokey too but still had the female touch I wanted for when I visit the shed.
It is so much easier to work to a palette than not to!
Step 4: Stocktake Your Home
As you know I am massively into reducing, reusing (repurposing) and recycling just about everything. This world has a huge rubbish problem and I want to leave the planet better than I found it for my kids to enjoy. There is a win-win in doing this too. You will save hundreds of dollars in the process. I highly recommend taking the eco-smart shed makeover path for these reasons.
There are plenty of FREE home inventory apps out there where you can also add images. I downloaded an APP called exactly that ‘Home Inventory.’ You can use it to wander around your home, take photos of items and then put then in categories.
I created a category called ‘Richard’s Shed’ and then walked around my home finding items that could fit into the ‘fluid’ plan we made.
Here’s a list of items around the home that we could repurpose:
We found 15 items we could repurpose (and hence FREE in terms of our $200 budget).
They’re listed below with the reasons we wanted to repurpose them:
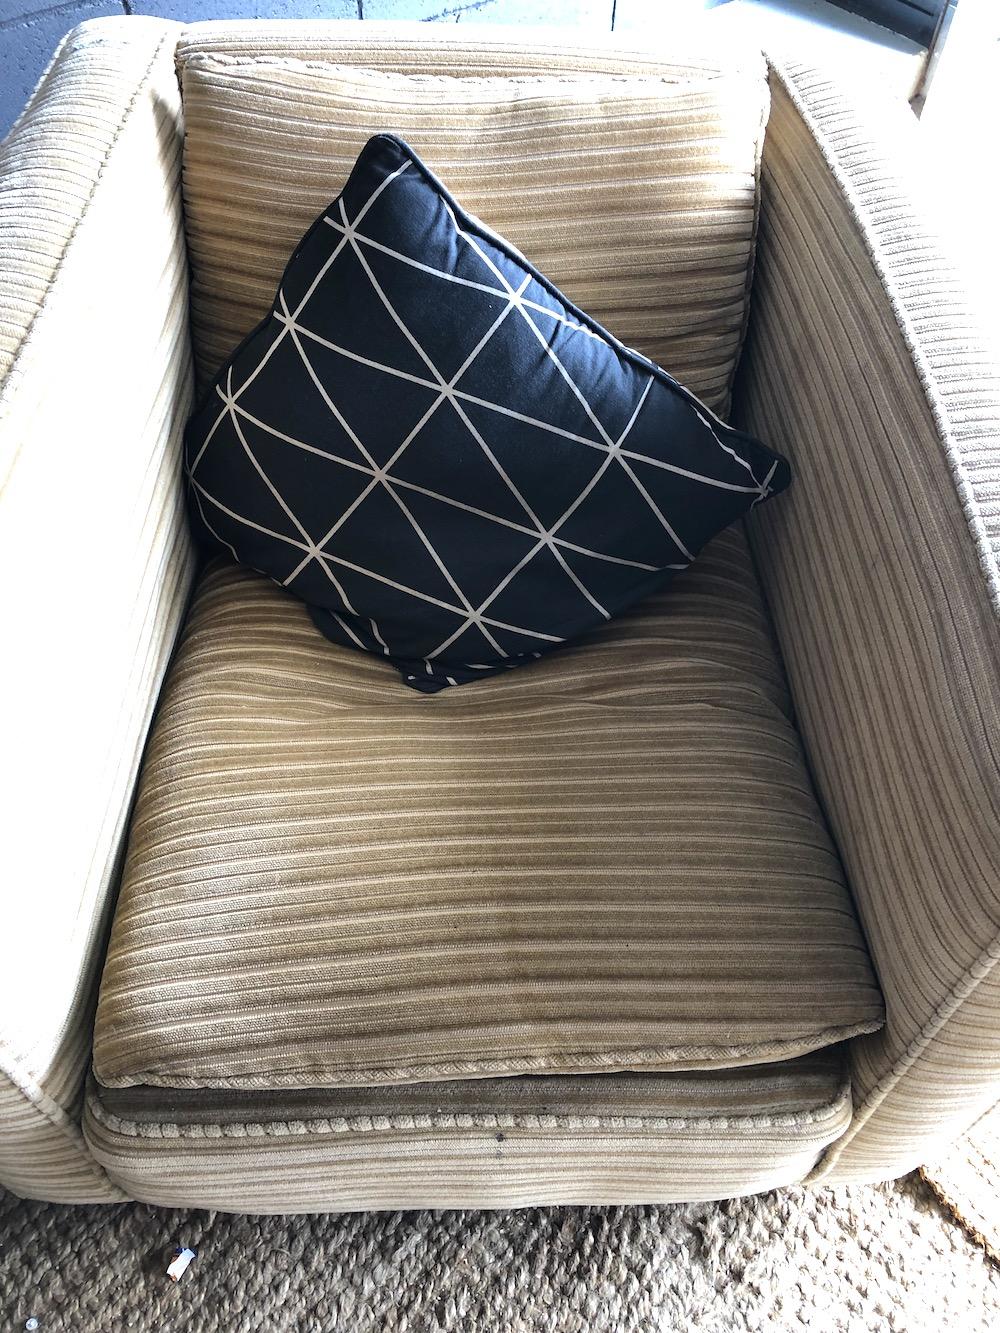
- Brown Chairs that were cluttering the house
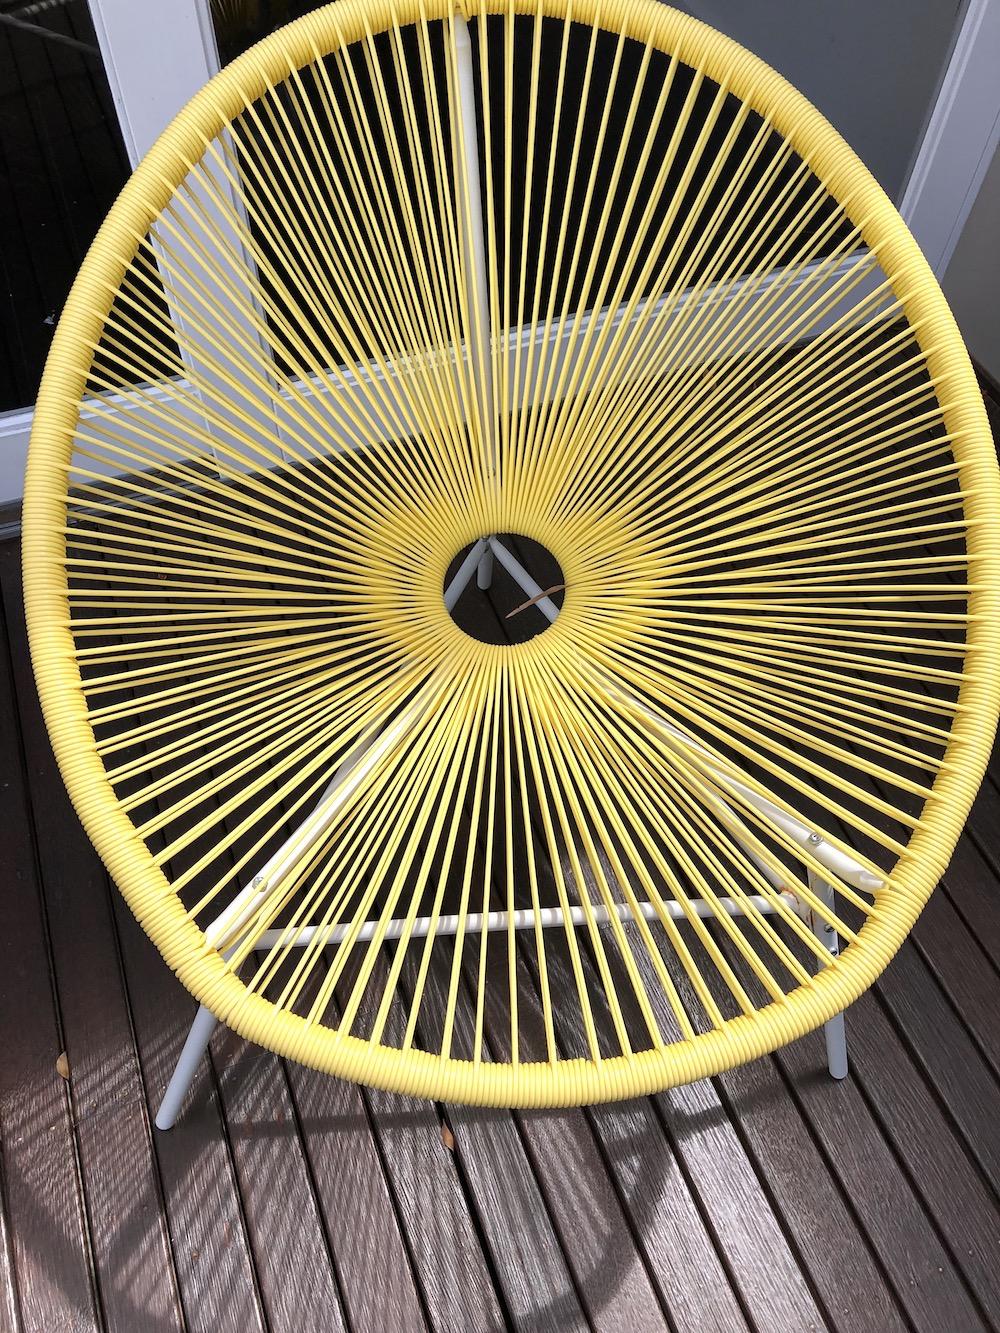
- Yellow chairs from Kmart that were cluttering our deck up
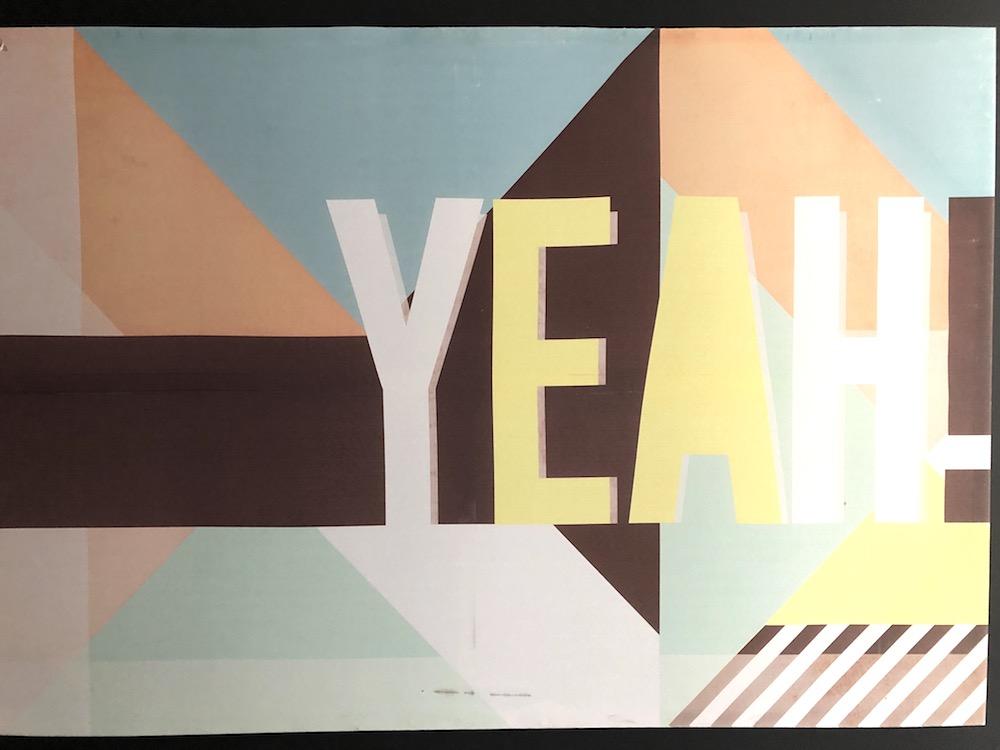
- YEAH Picture that was lying around (not-in-use)
- Black and white picture we from inside that looked better in the shed
- Silver ladders, fans and other silver gear to match the floor
- Yellow items in the shed to ‘act’ as style items to match the palette
- Old JBL speakers we had in storage
- Plants brought from outside in
- Coffee tables, candle holder and fake plants getting lost inside the house
- Richard’s old signwriter’s box, old suitcase, our existing pizza oven & homemade stand
- Yellow tools and neutral coloured toolboxes matching our simple palette
- Kids skateboards, large ladders
- Yellow hoses and sponges to place on hooks
- Macrame hanging plant bowl to match the brown chairs
- Yellow cushions from inside the house – we had way too many inside
Step 4: Source Gear
Now that you know what you’ve got, the next step is to list and shop for gear you need to purchase.
As you know I am massively into reducing, reusing (repurposing) and recycling just about everything. This world has a huge rubbish problem and I want to leave the planet better than I found it for my kids to enjoy. There is a win-win in doing this too. You will save hundreds of dollars in the process. I highly recommend taking the eco-smart shed makeover path for these reasons.
In hindsight, the most vital part of this room makeover being a success was the White Knight Ultra Pave paint (Etcher – an acid you apply, wash off after surface) we wanted to try for this experiment. The reason is that it totally transformed the shed floor and refreshed not only the concrete itself but also the entire look and feel of the space.
- Paint Shop: Visit your local paint shop (Taubman’s and Bunnings stock White Knight Paint or head online to White Knight Paints for more information. Ask your Taubman’s or Bunnings paint rep to tint the paint to the colour you would like.
- Op Shops & Facebook Marketplace (Budget $40): We purchased the bar stools for $40. Because Richard was nice to the guy he got a $20 discount.
Important Room Reveal Tangent…
Before I reveal this amazing room makeover to you (and get into the awesomeness of what happened) here are the main reasons Richard LOVED this White Knight Ultra Pave (and yes, it certainly did live up to its rave reviews) in the end:
- Gave the concrete a whole new lease of life
- The process itself was easy (in terms of its application)
- The product was super easy to apply and durable (Richard found learned about its DuraTough technology which delivers long lasting results)
- Richard did a ‘scratch’ test and dragged furniture along the floor and it still didn’t scratch (he was very impressed!)
- The paint is cost-effective as you only have to apply two coats to get the finish we got
- White Knight Ultra Pave range includes preparation, primers, sealers and topcoats which is an added bonus
- Richard liked the idea the product has multiple uses such as driveways, garage floors, paths, patios, verandas, courtyards and even more applications that that
- I researched other products they bring out and here’s the list of those: White Knight Ultra Pave Quick Dry • White Knight Ultra Pave Topcoat Grip Additive (if the surface is very smooth please also use White Knight® Ultra Pave® Concrete Etcher)
- You can add tintable bases (Taubmans) to the paint to get the colour you want. This is good because there are 1000s of colours to choose from to get the colour to match the palette you choose.
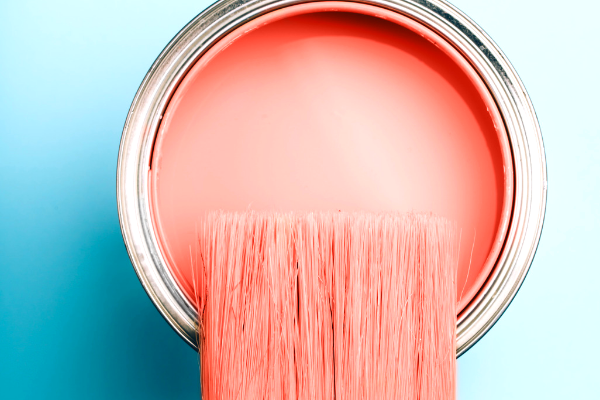
This is what the paint looks like:
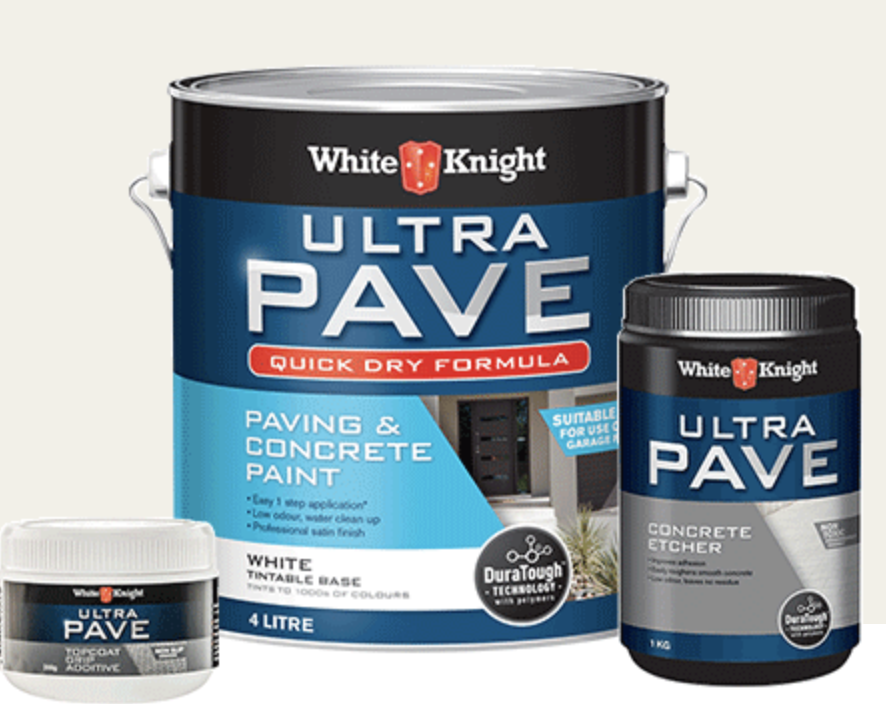
Source: White Knight
We picked our paint from our local Taubman’s store. We needed enough paint for about 35 sqm – so this 4 Litre drum was more than enough. Richard actually used leftovers to paint his bench edge too and still had some left. He a happy man when he gets leftover paint because he can use it on other projects. It takes a lot to make Richard happy when it comes to paint (he’s a major perfectionist) so to see him loving a product like this was rare.
Step 5 – Get To Work!
Here’s exactly what you need to do to make your Total Shed Transformation a win-win weekend:
Saturday – Declutter and Paint:
- Check the weather report for the coming weekend
- If sunny, remove all items from the shed onto the lawn or if it looks like rain try to put as much as you can into the house (Note: Non-flammable items only).
- Completely clear the shed floor of all items and sweep thoroughly with a broom
- Apply the White Knight Concrete Etcher (You’ll need a bucket, water, broom, safety glasses and gloves). Richard mixed this in a bucket with water.
- Use the Etcher sparingly at the beginning and really spread it out – otherwise you risk running out of it too early in the piece
- Wash off the concrete etcher about half an hour later using a hose or high pressure hose (Richard did it with a high pressure hose)
- Richard also painted the walls of the shed (in dark charcoal) using his spray gun and allowed them to dry
- Cut in the walls/floors of the shed and allow to dry
- Paint the floors of the shed using a long roller with the White Knight Paint and allow to dry
- Apply the second coat of the White Knight paint and allow to dry.
- While Richard was painting we (as a family) completely went through everything that was out on the lawn. We made a rubbish pile for Richard to take to the tip. We also made a pile of items for the Op Shop. Finally – we organised items that could neatly go back into the house. We also photographed and put items up on Facebook Marketplace straight away.
- Saturday night – bring important pieces back in. For example, we brought in Richard’s equipment that couldn’t be left out in case it rained. We managed on the Saturday to deal with anything we couldn’t leave out and find homes for those items.
Sunday – Style:
- Enjoy bringing the new pieces of furniture and items into the shed to styling it. We had so much fun with this part of the process and seeing the amazing results.
Tips: Plan a trip to the tip and Op Shops the following weekend to remove rubbish from the home. Sell unwanted items to FB Marketplace bargain hunters.
Drumroll…
Here is our amazing new shed – totally transformed using our biggest secret White Knight Ultra Pave paint. Plus Op Shop finds, a fun family working bee, repurposed items from the home and a big pinch of love. Isn’t it amazing how a totally transformed floor can completely change the look and feel of a room. Thanks White Knight!
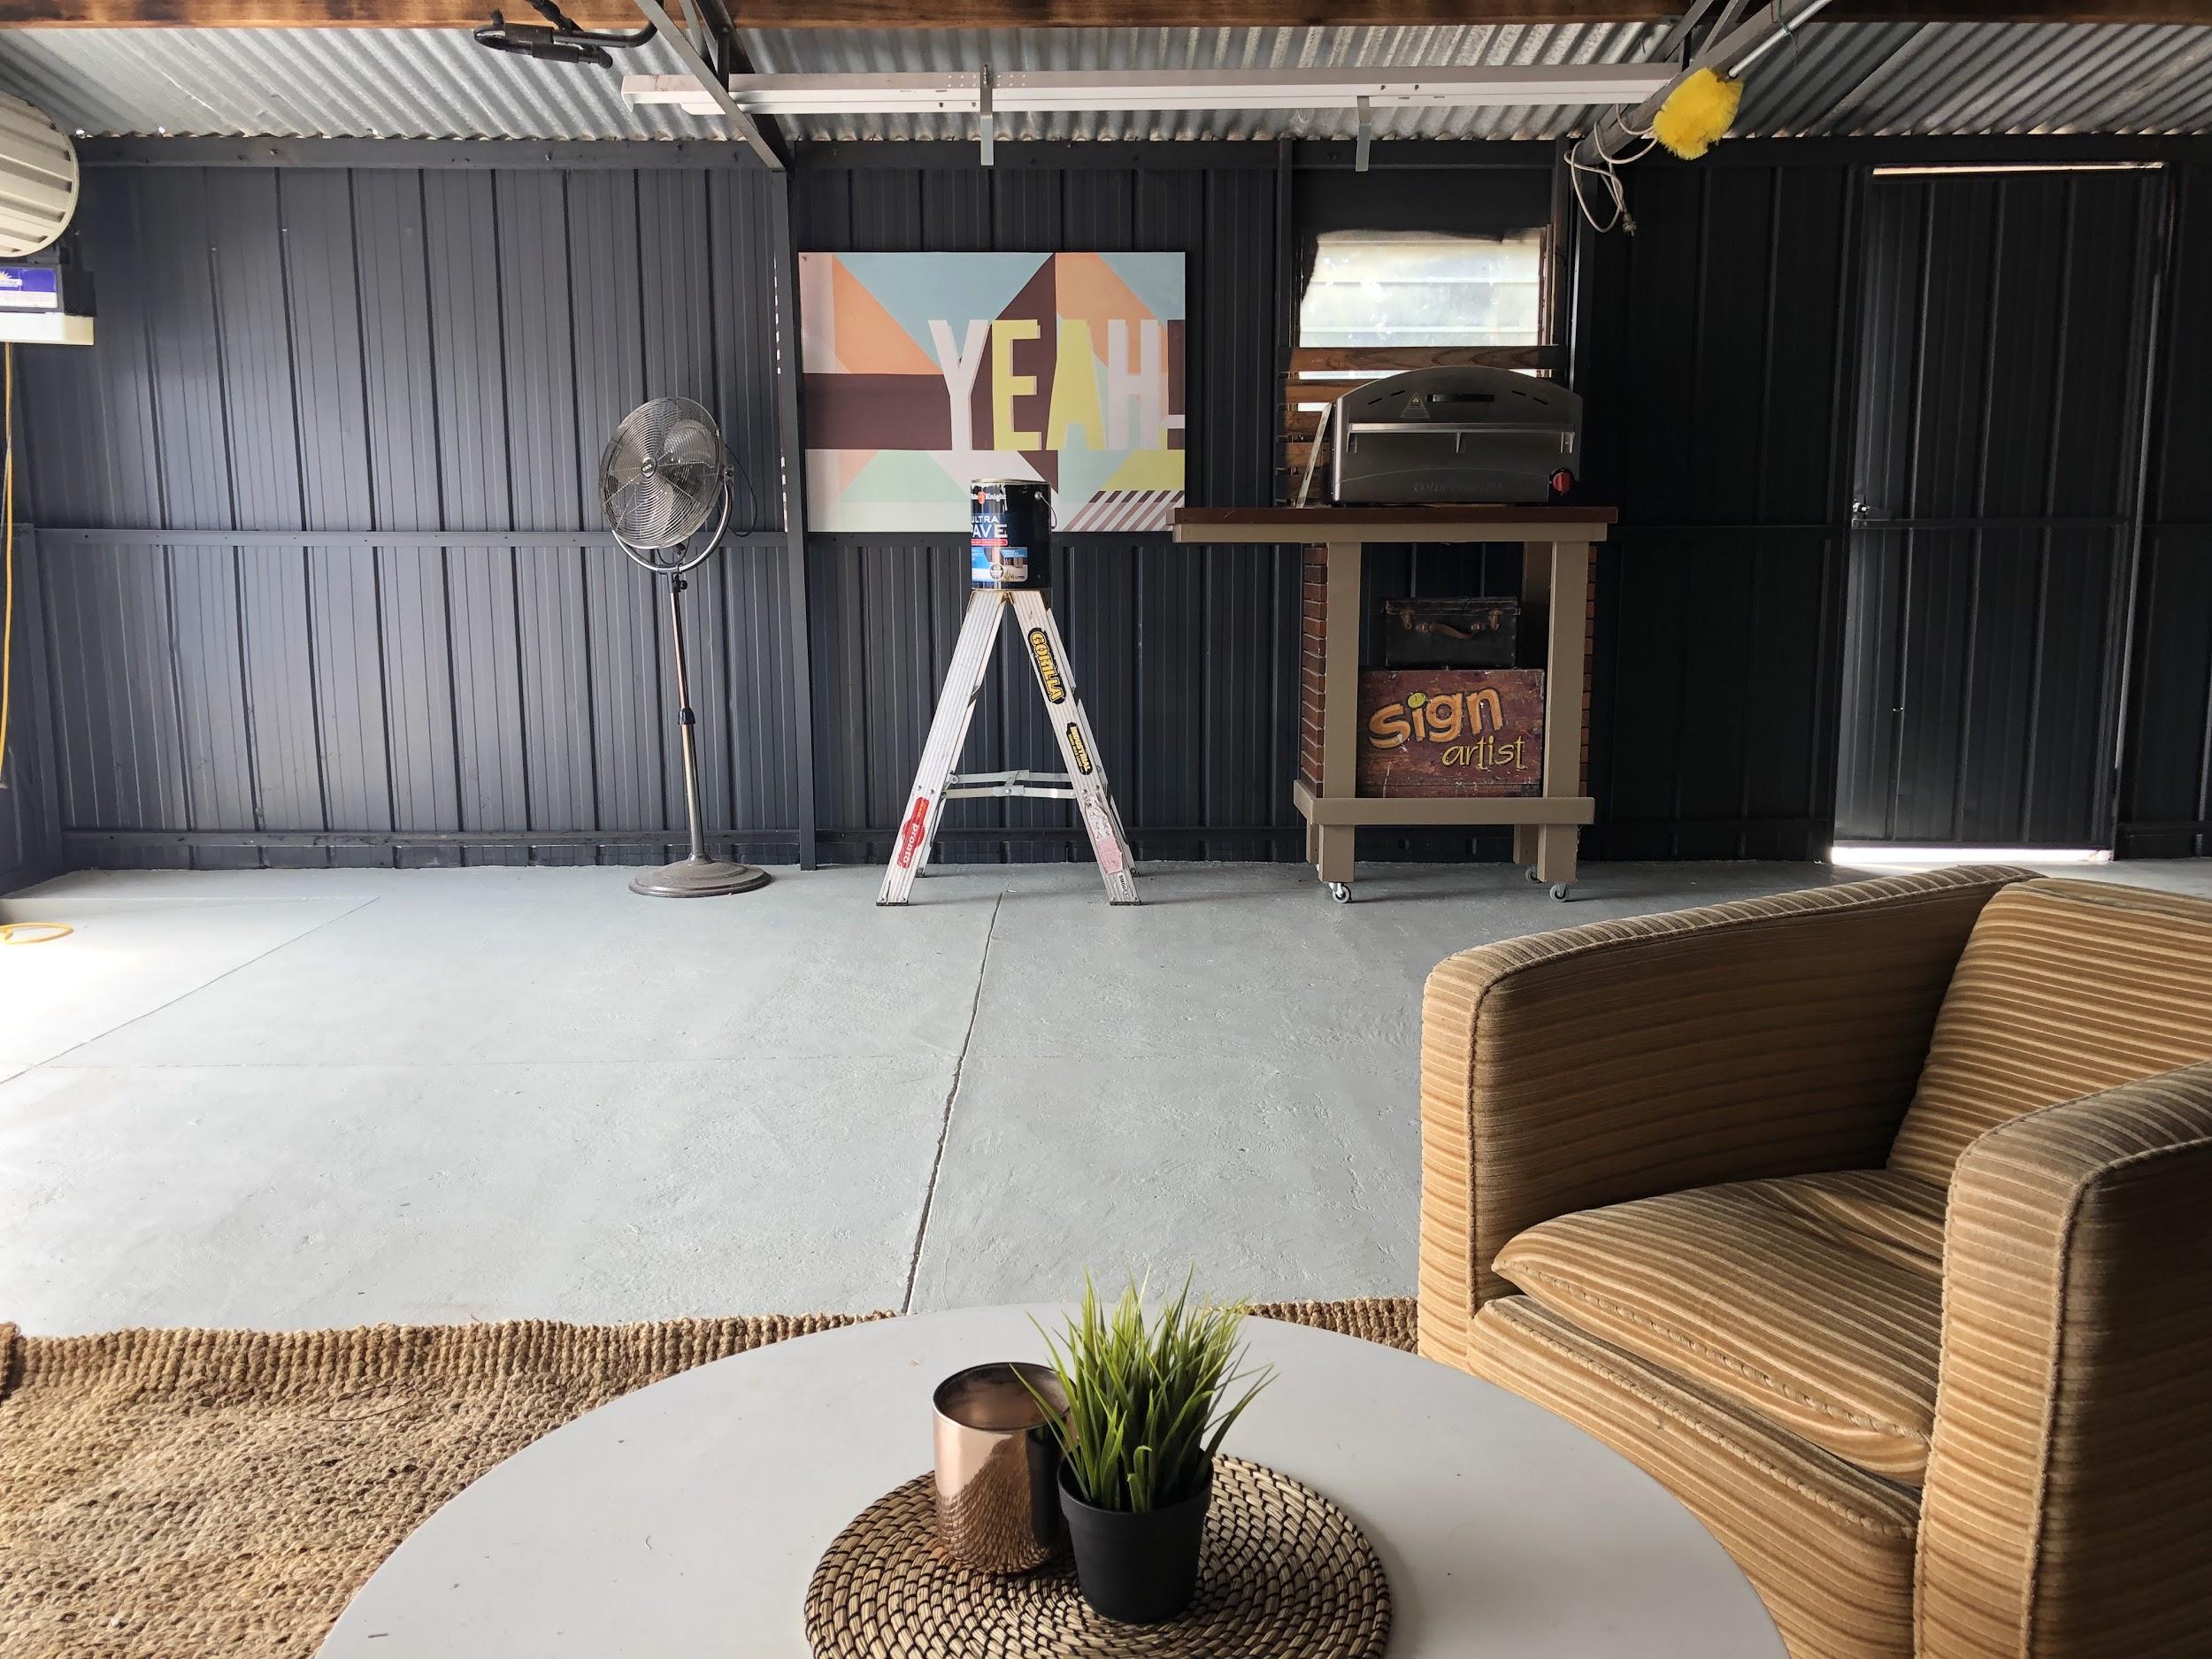
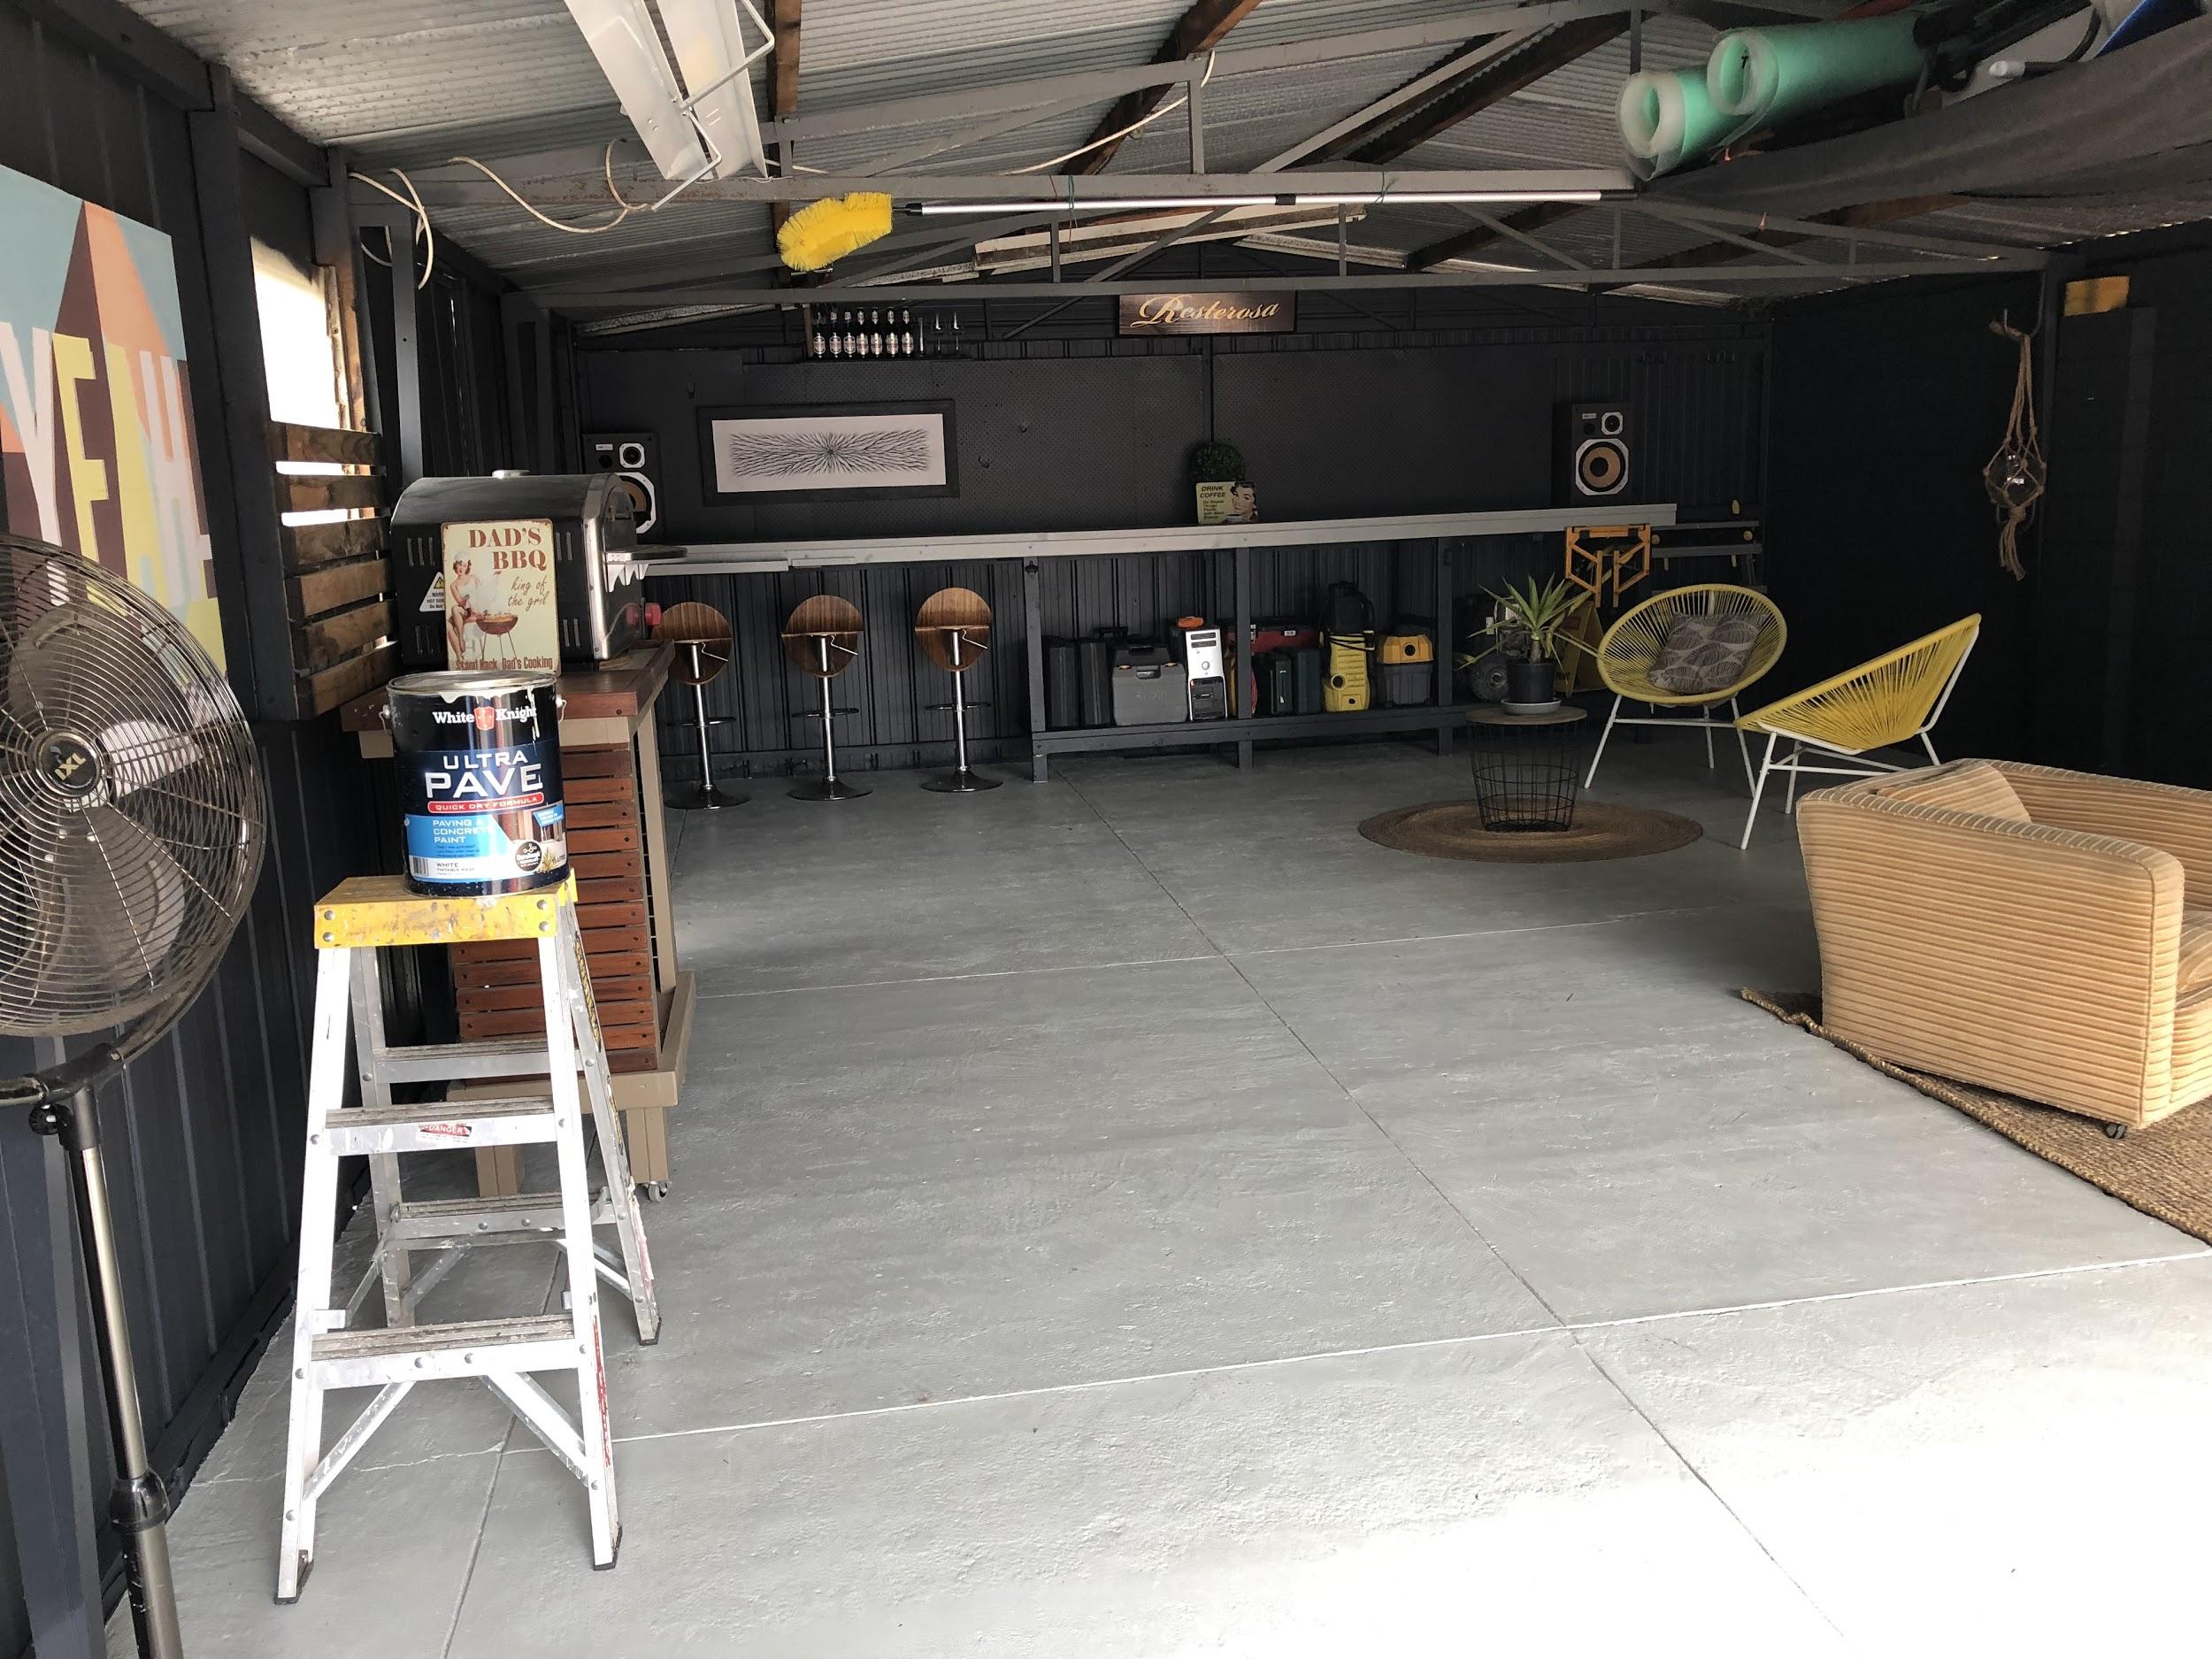
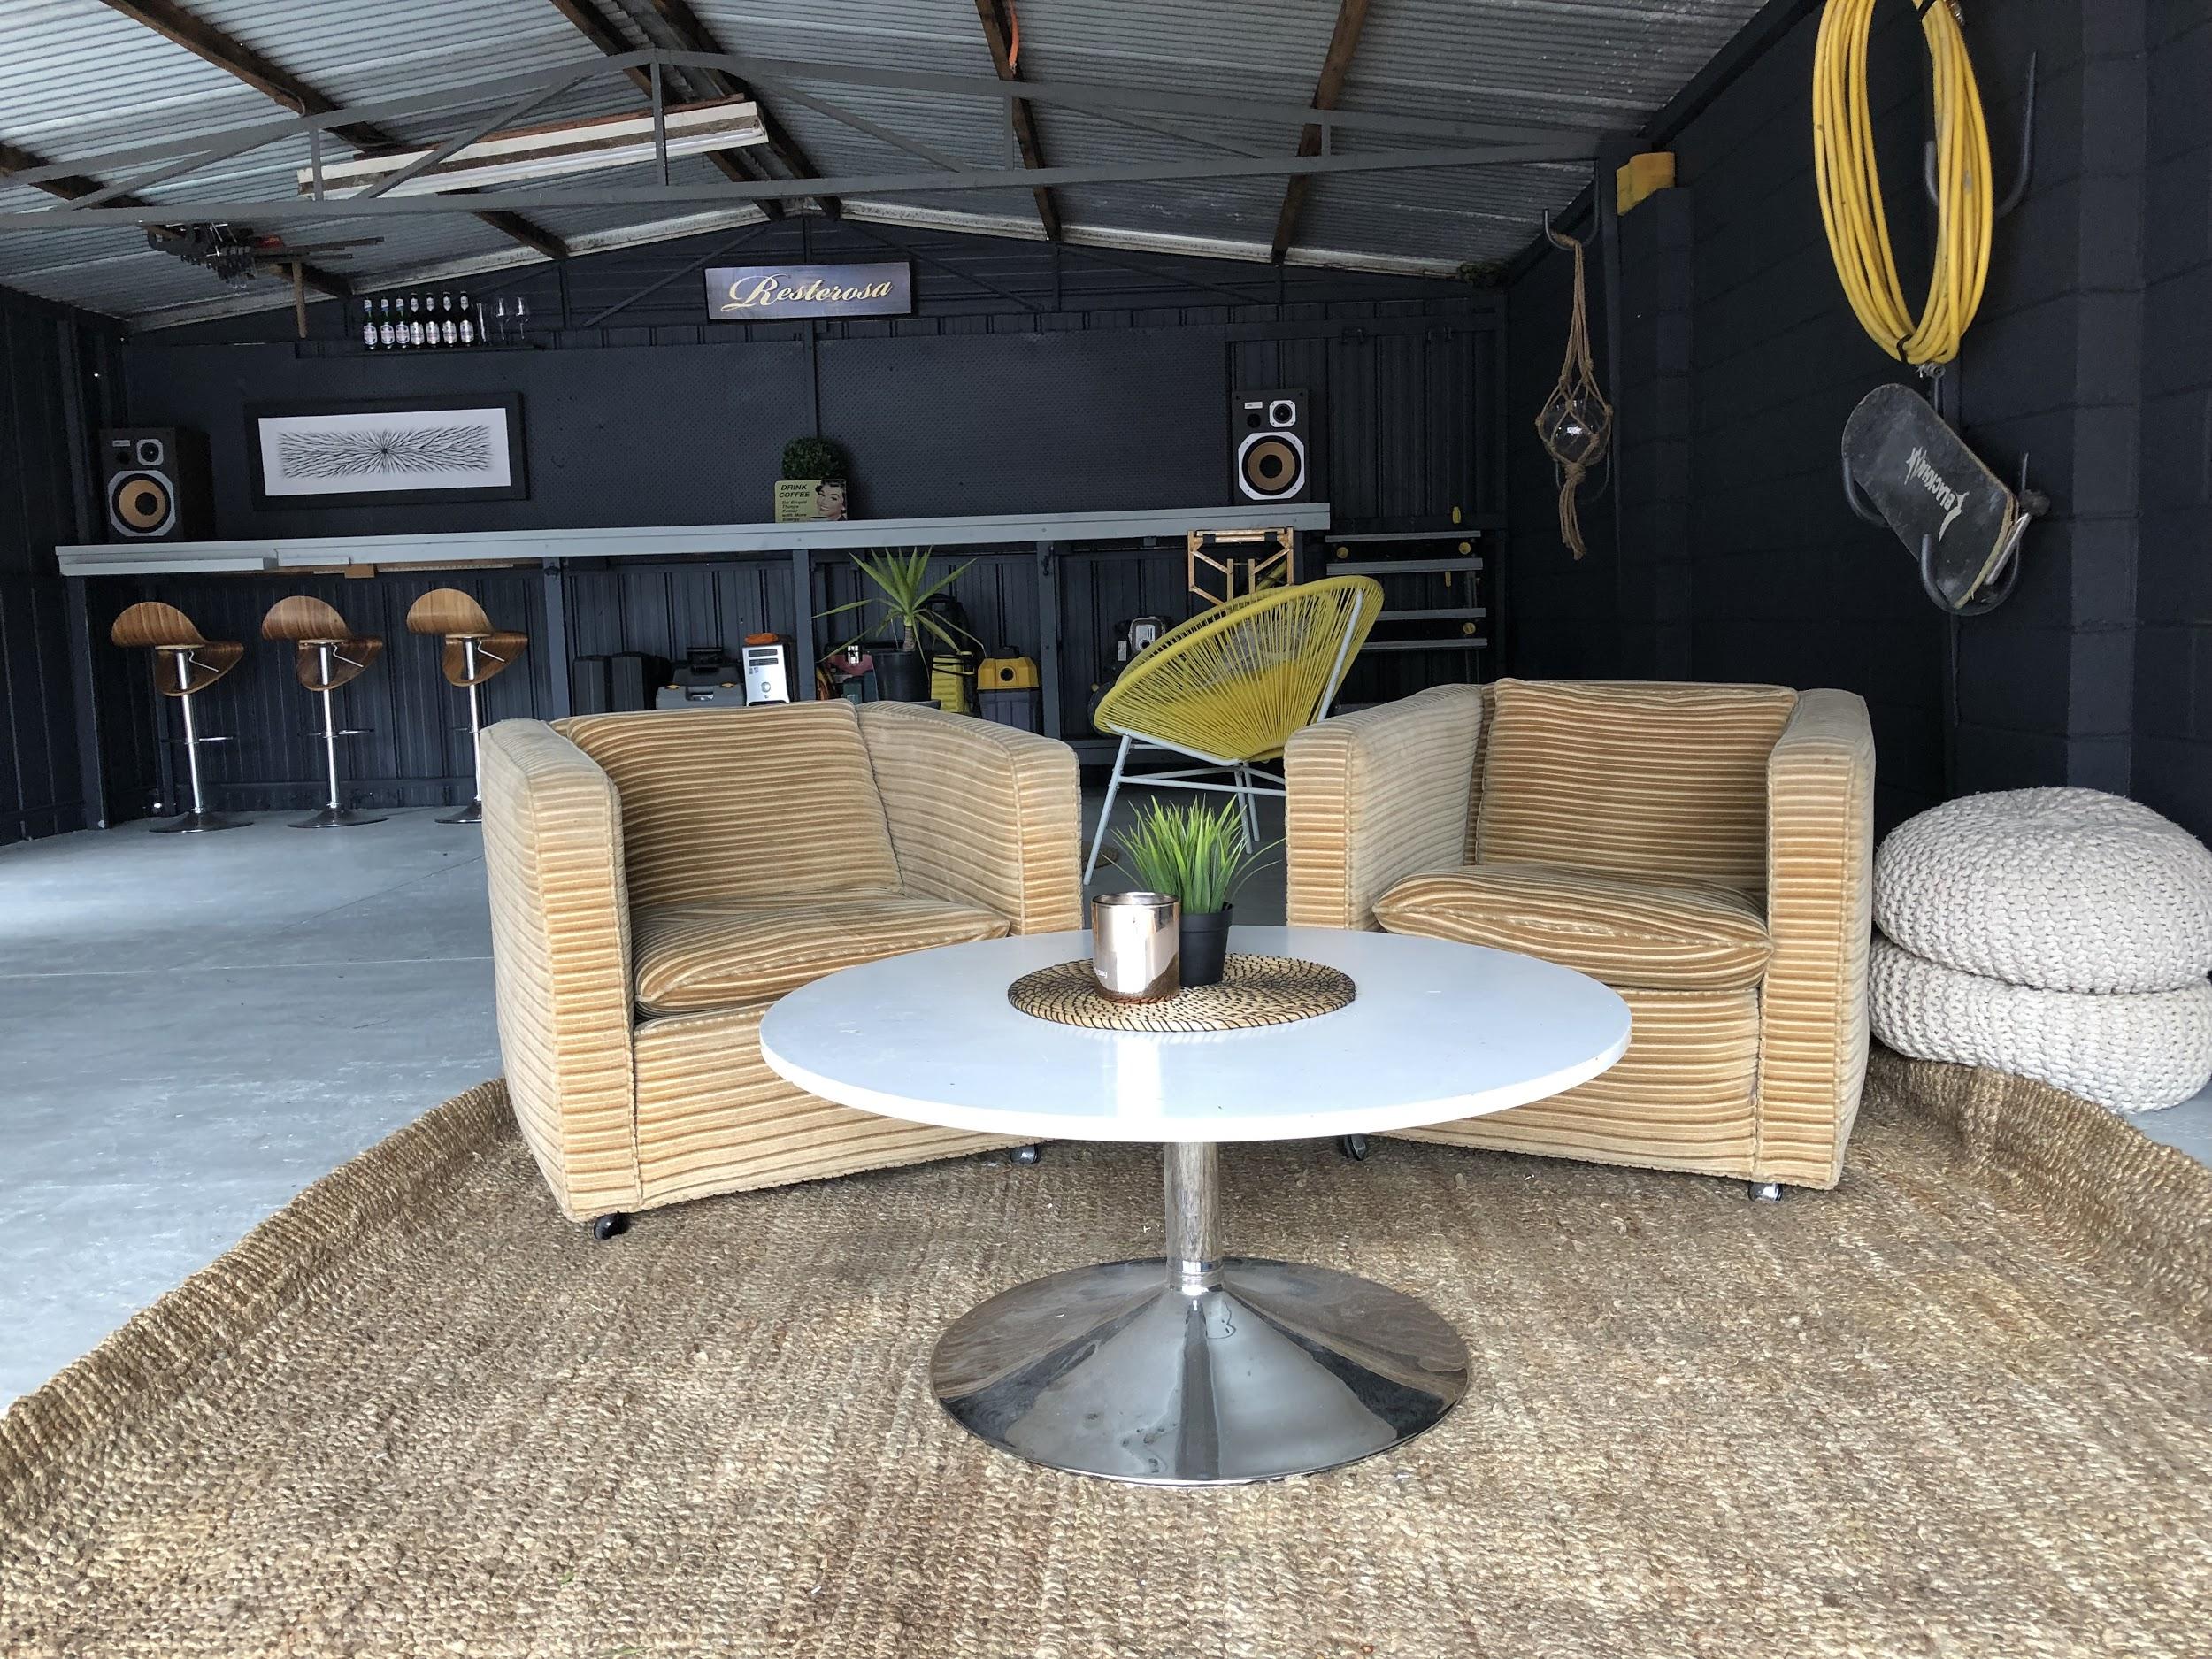
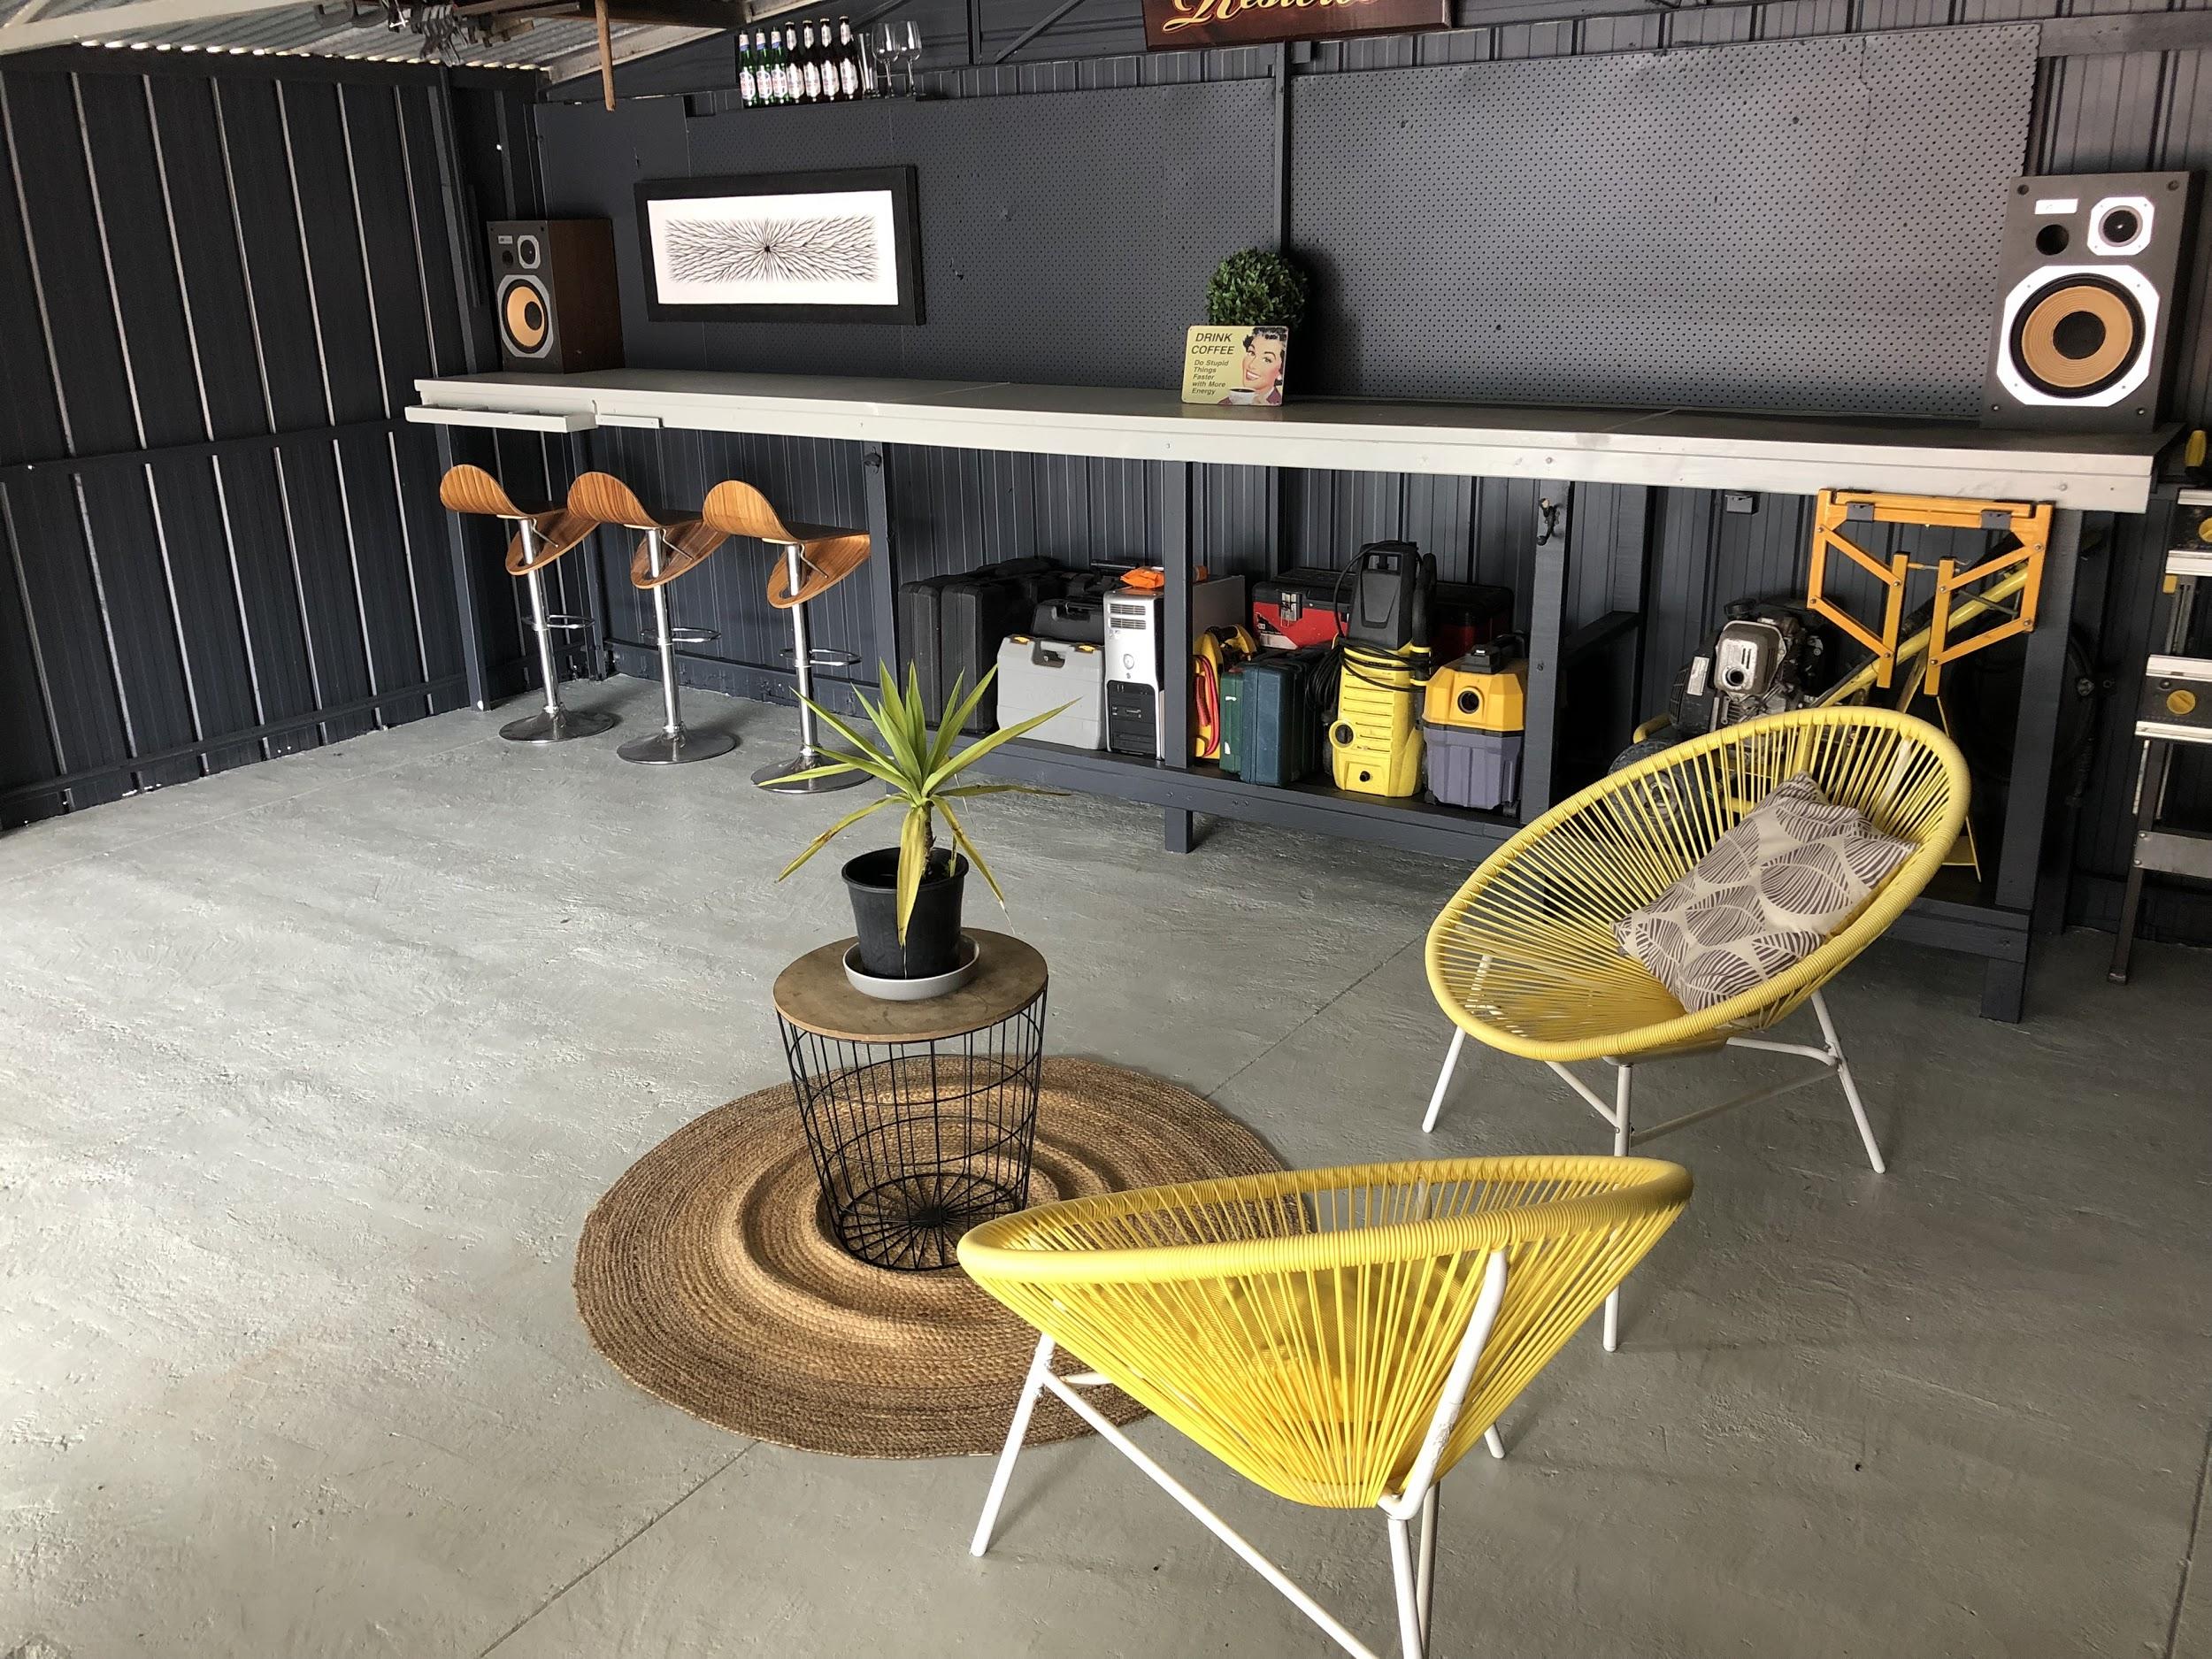
Watch the Vid: Amazing Budget Shed Transformation In Action
Room Reveal: Design Notes & How We Did It
After Richard finished all the grunt work I was left with the lovely job of completely styling the shed. I couldn’t believe my luck. We usually style rooms together – but I think he was tired so I got full reign of this without any complaints. It’s the little things that make me happy – ha!
Tip: Rule of thumb here – Square chairs on square rug, round placemat on round table. My rule of thumb is to ‘place like items together.’

These old chairs were cluttering up our lounge
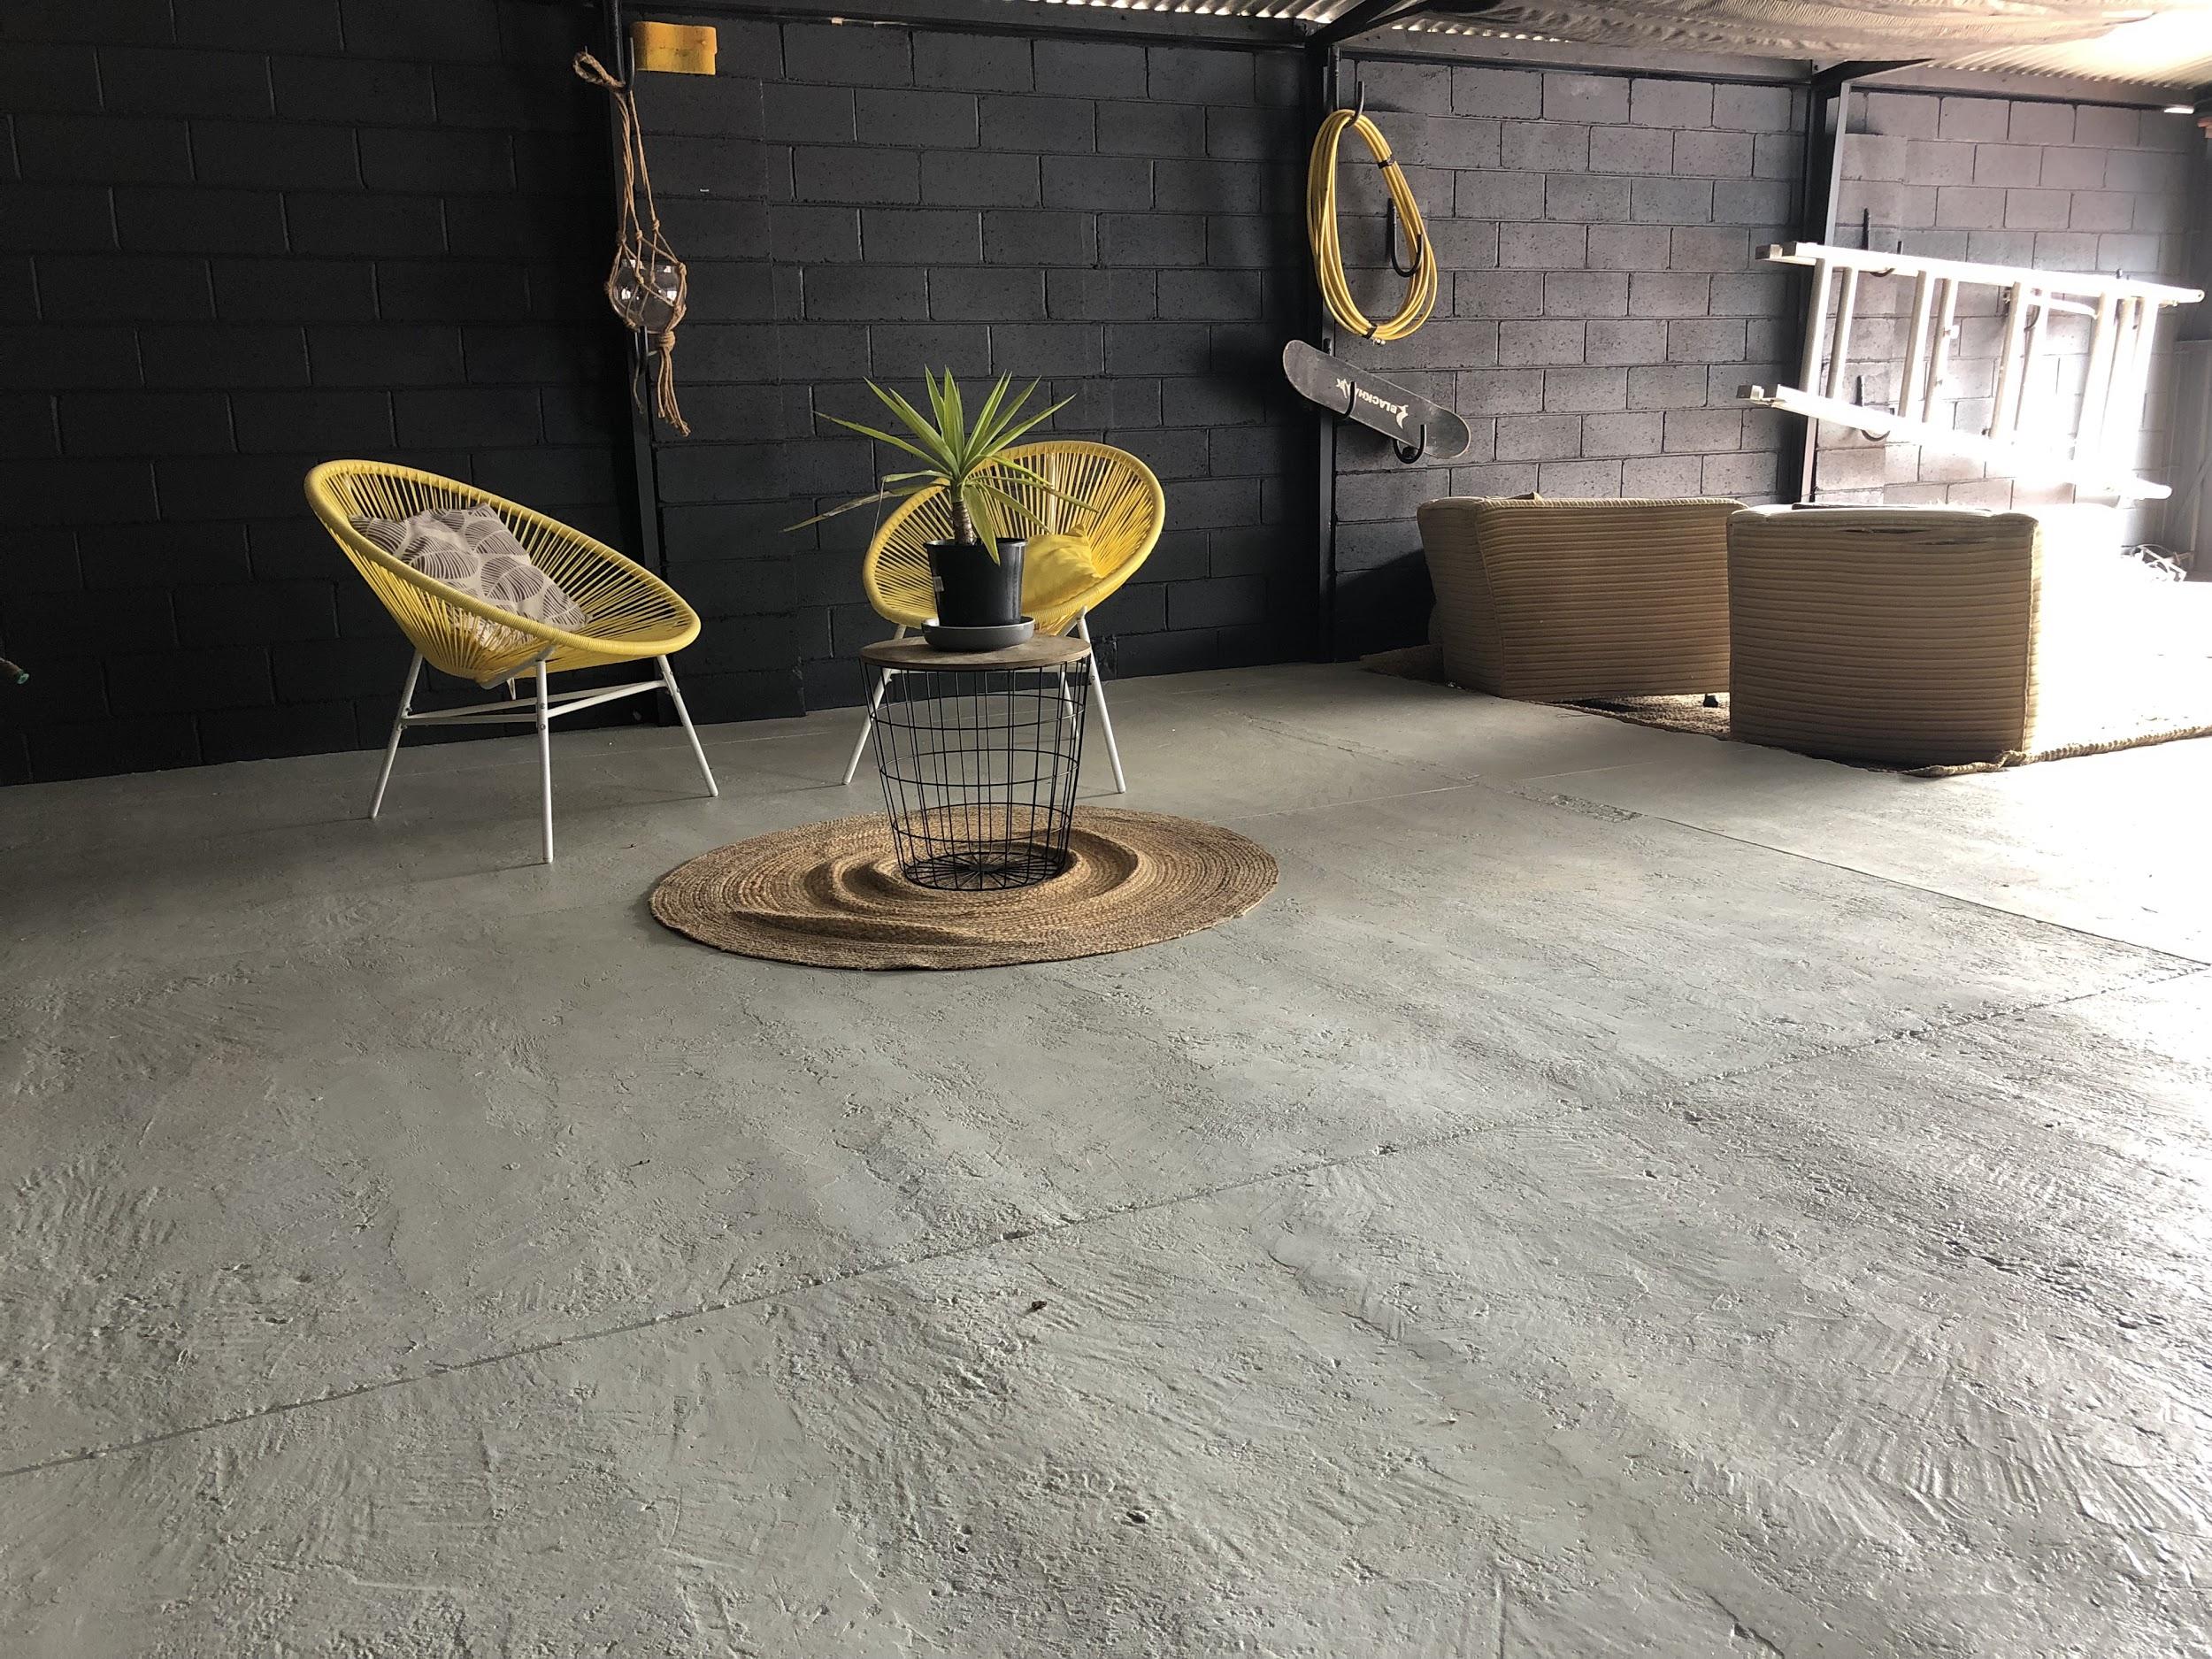
We moved our outdoor yellow chairs inside
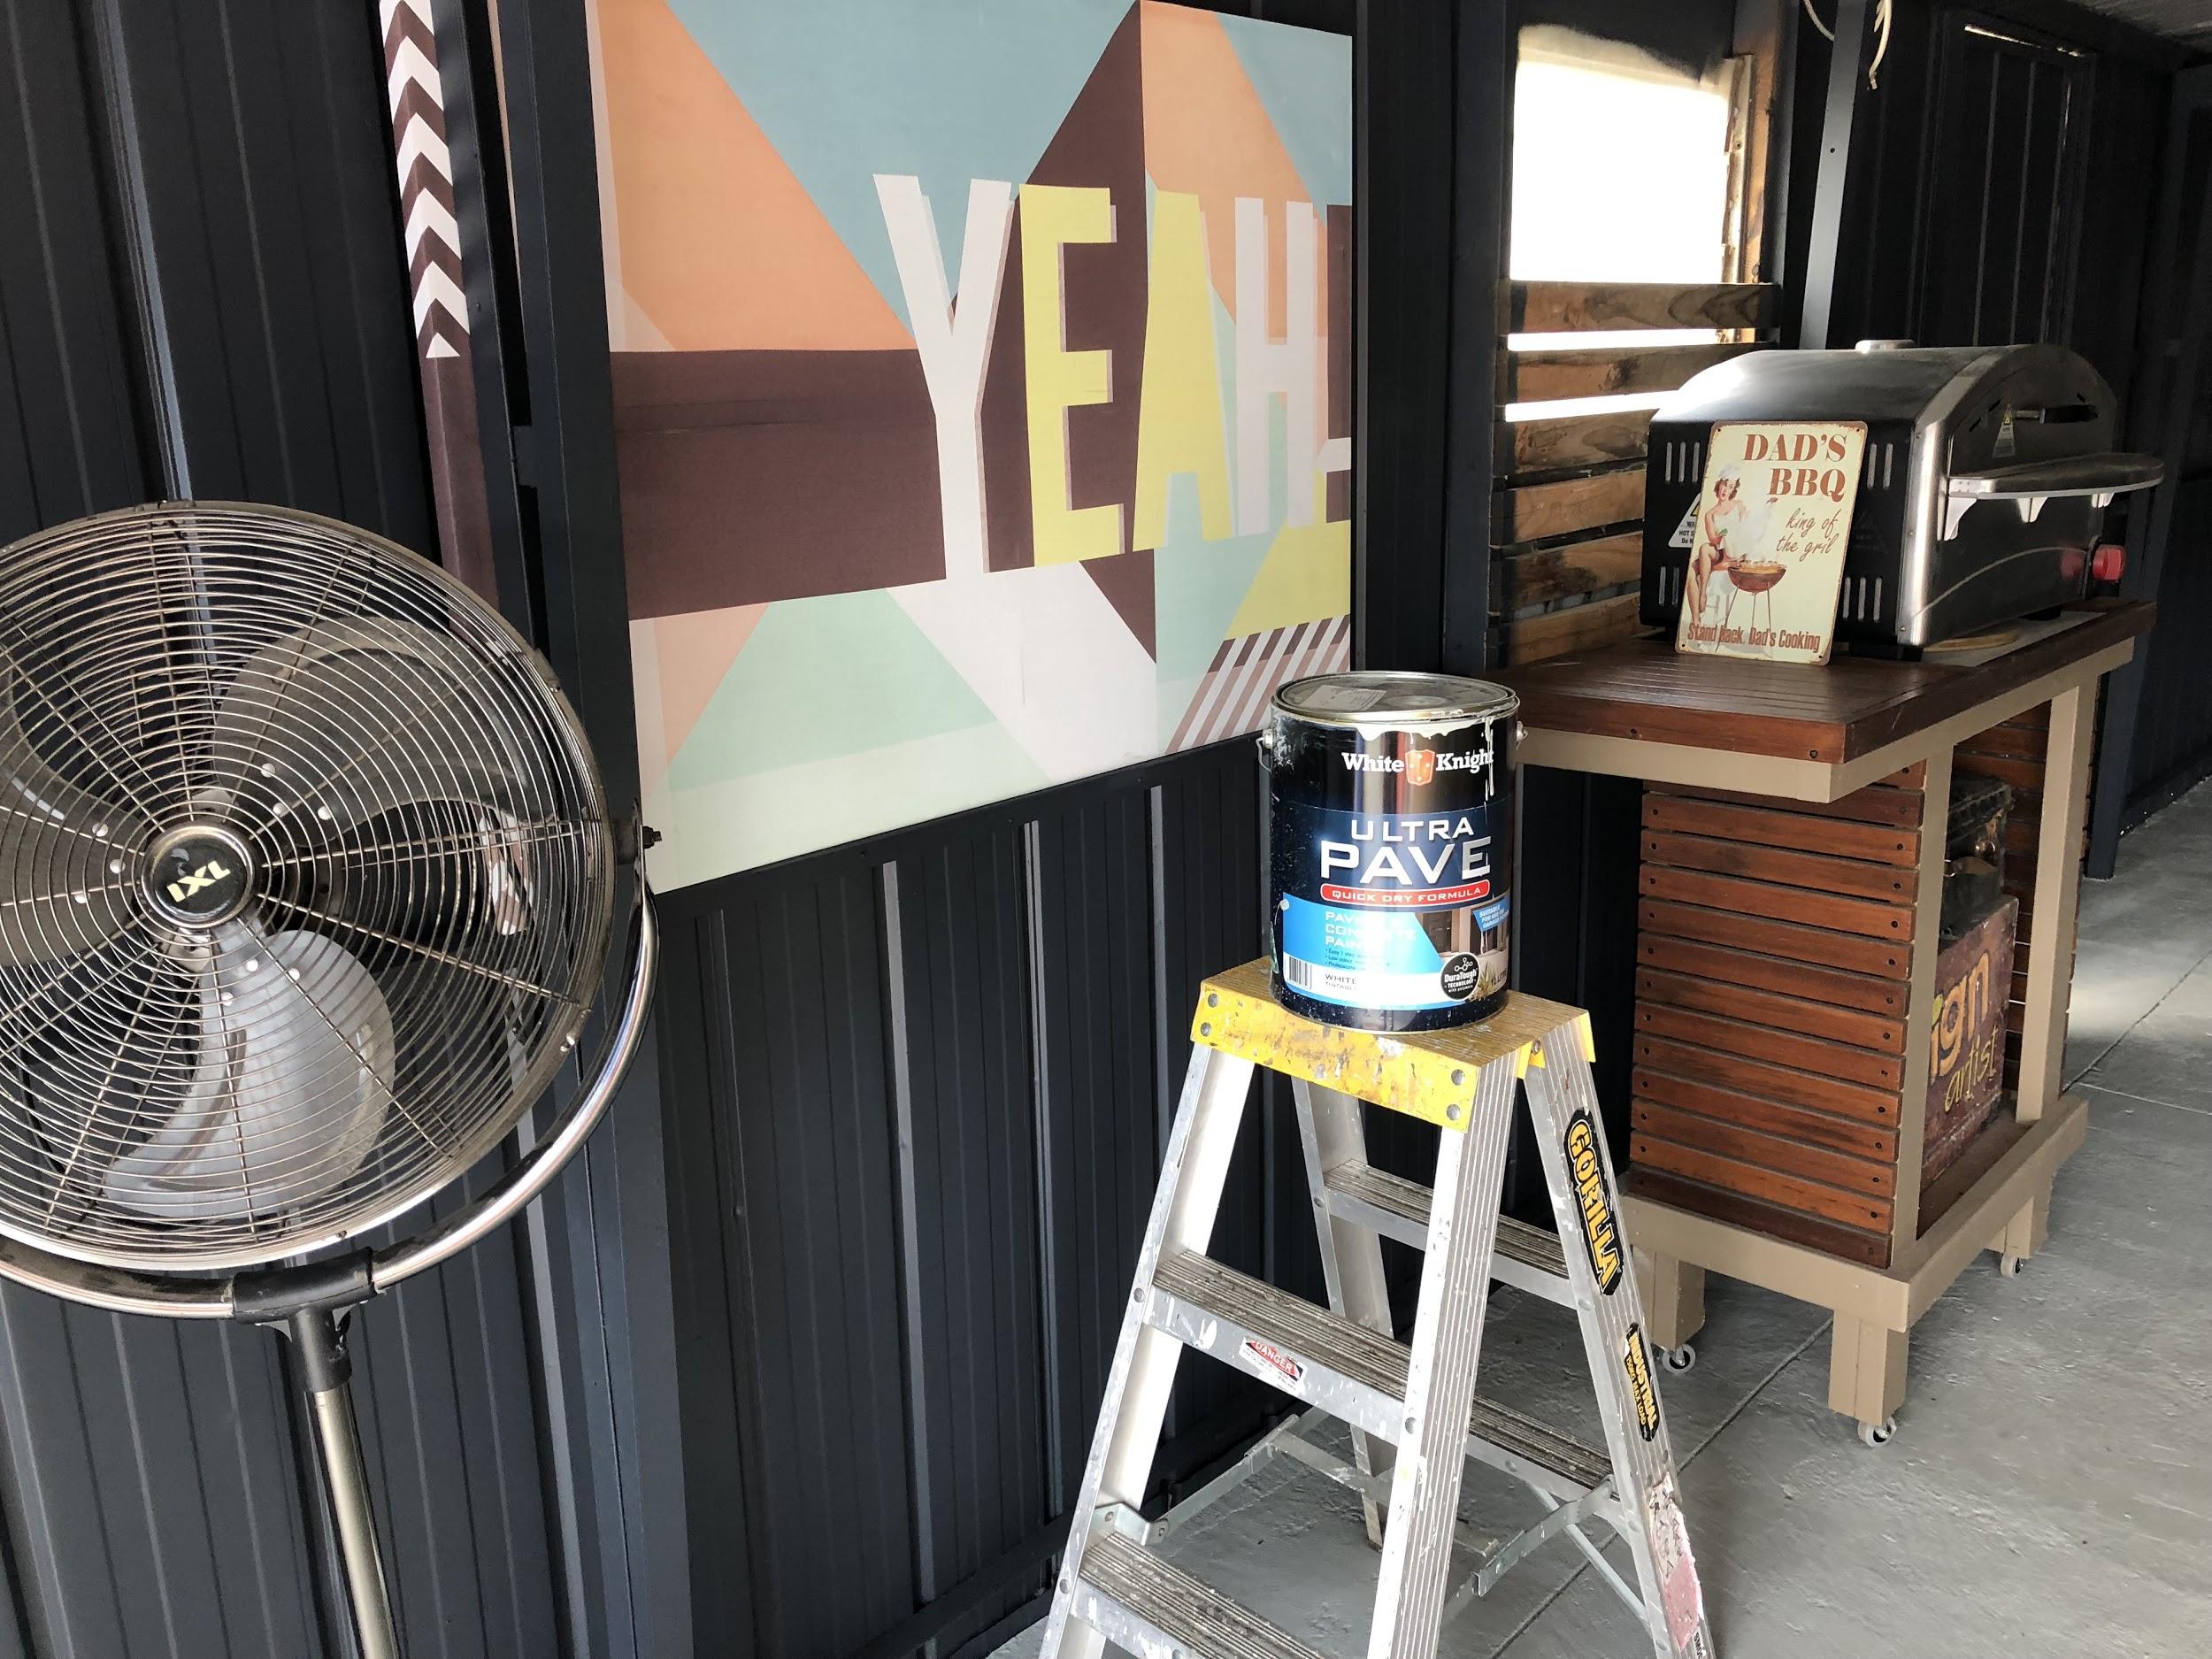
We had the picture in storage & finally found it a home
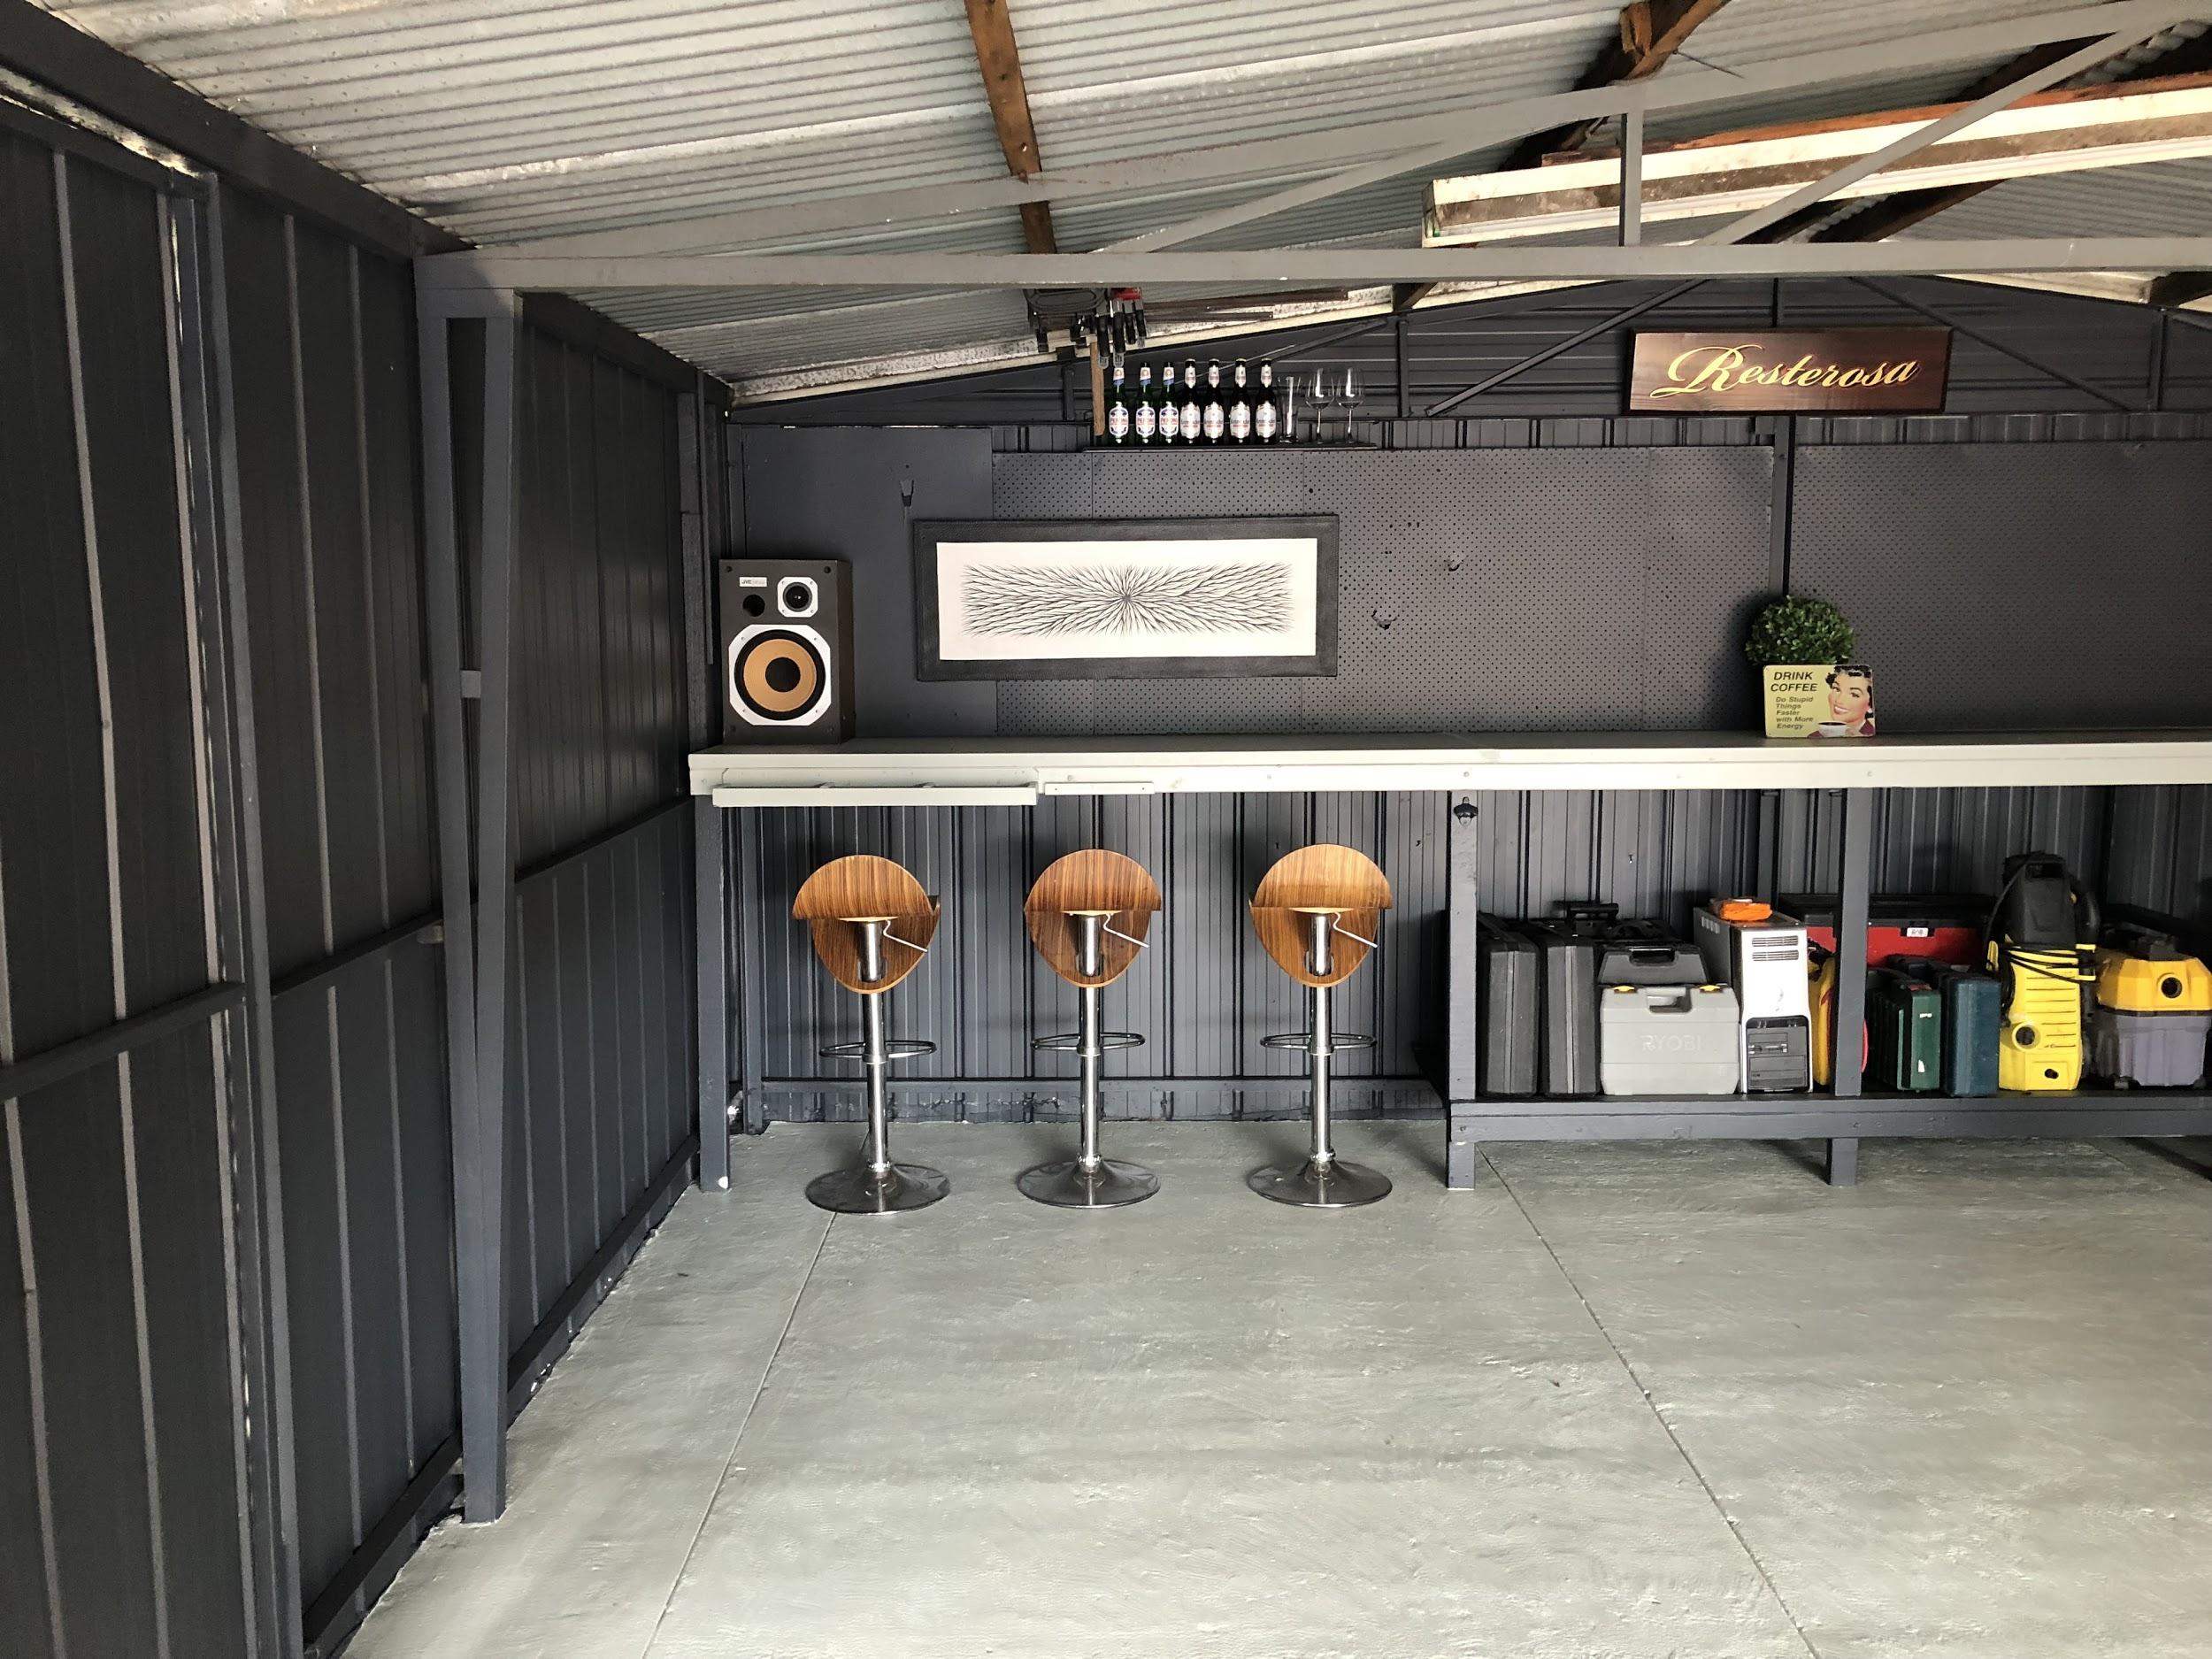
Richard scored these awesome modern stools for just $40 on Facebook marketplace
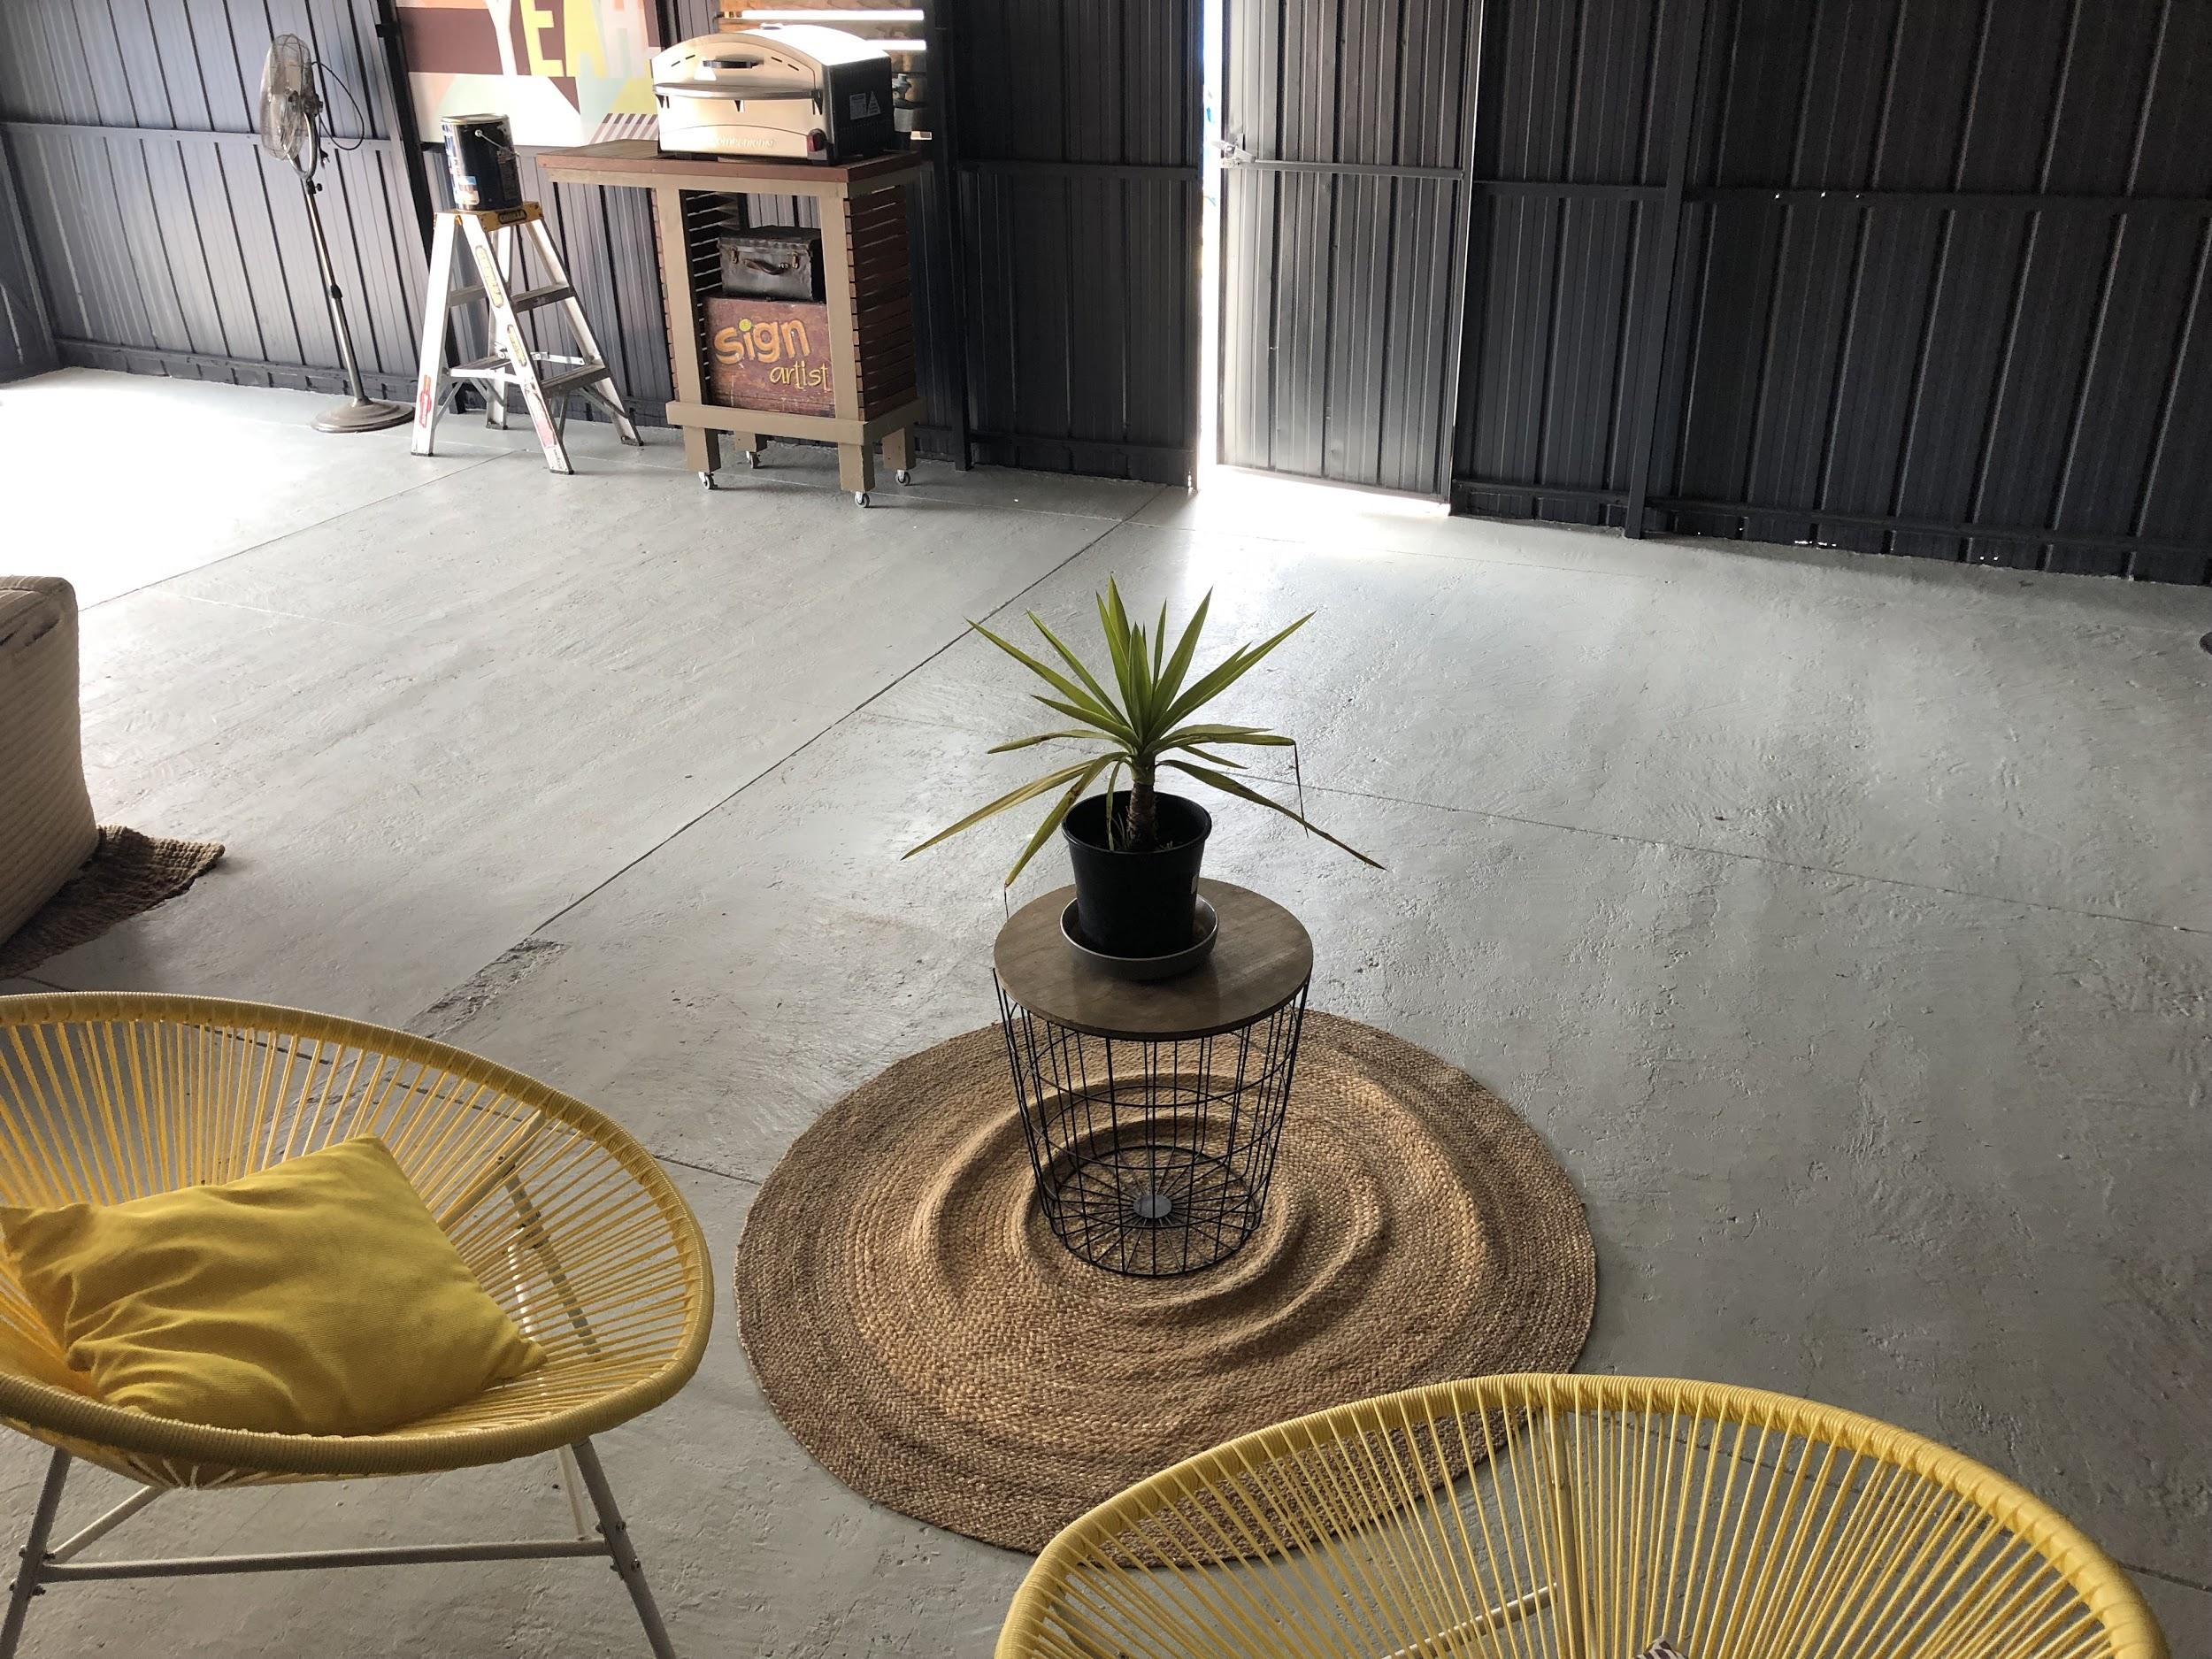
The rug was making an indoor living room look cluttered so I repositioned it. Rule of thumb:
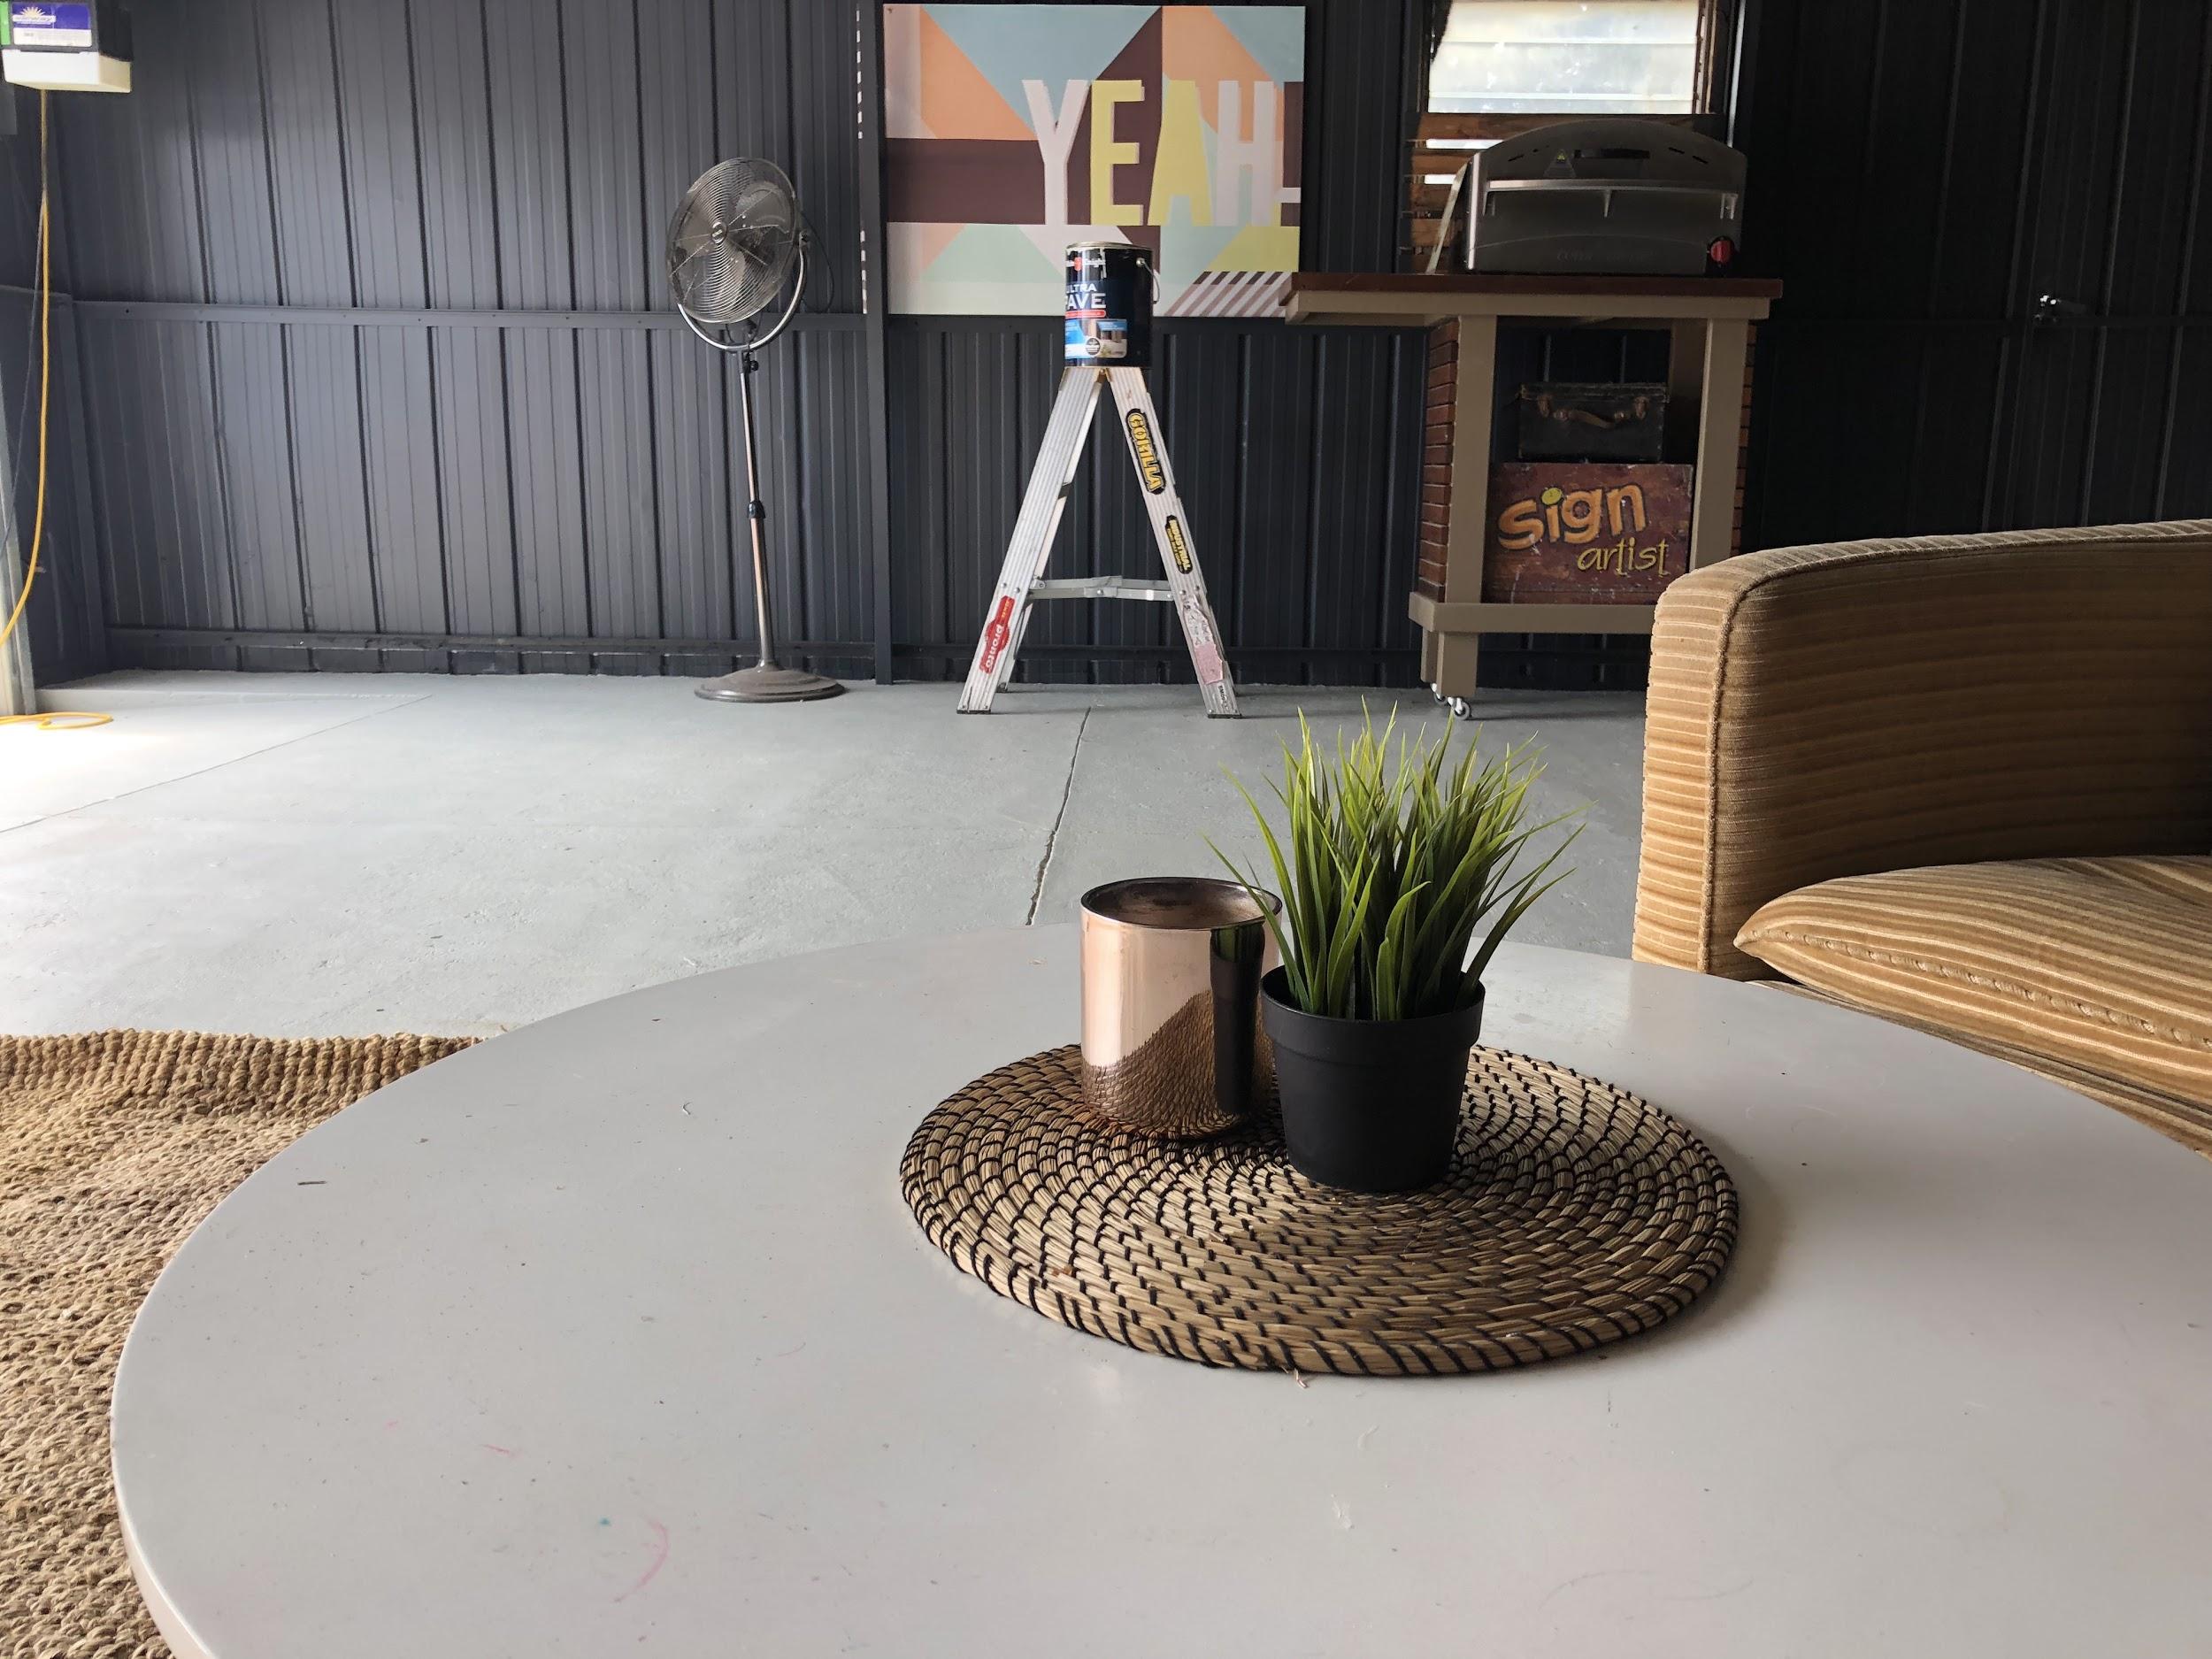
A man cave even a wife can enjoy – a place to escape hectic life inside a home for couple time
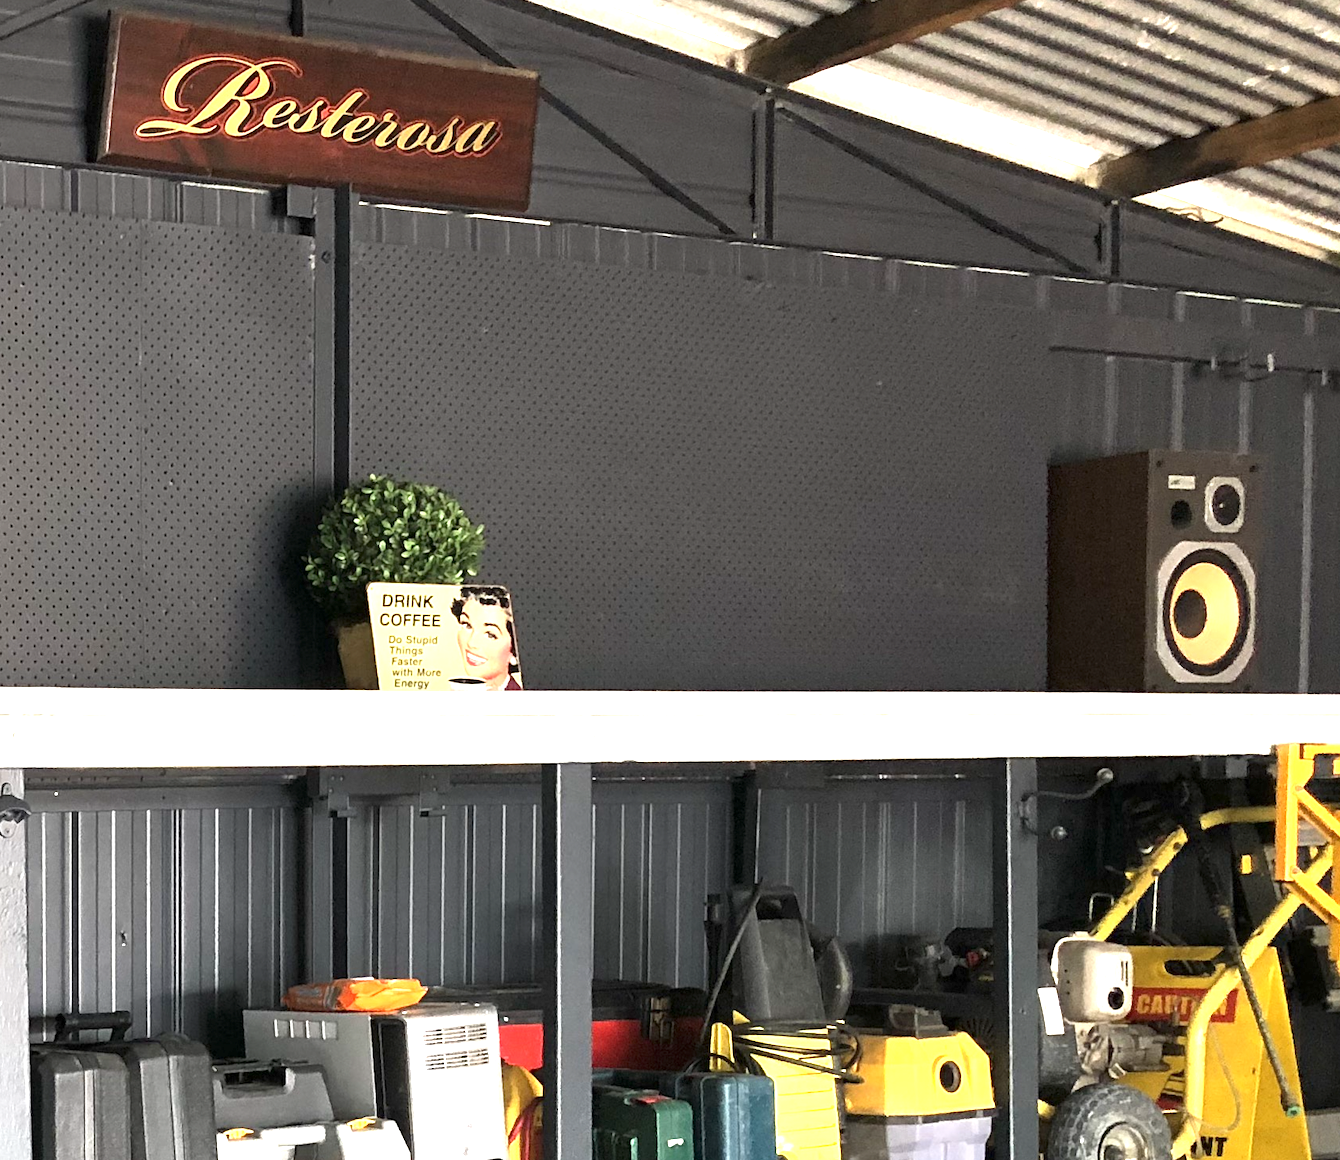
Bring In Your Memorabilia (Richard’s Restarosa Sign) and Use trade gear the colour of your palette (e.g. Yellow)
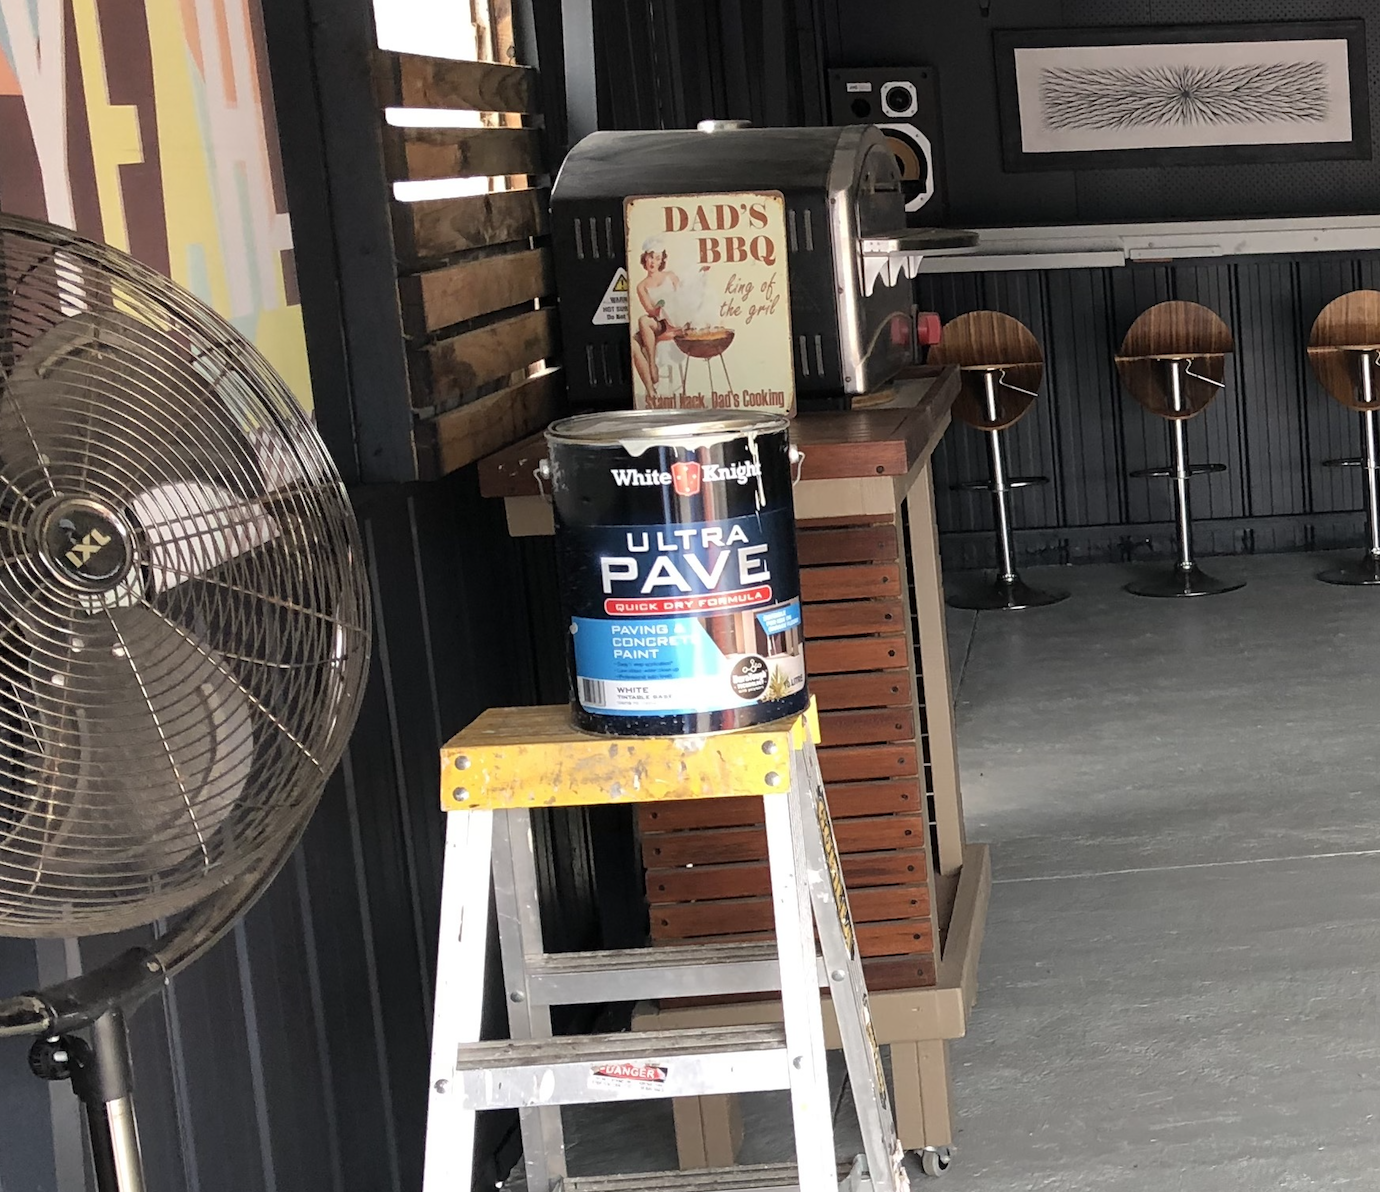
Same here. Working to the palette with the sign, wood, silver, yellow ladder and $2 retro sign and pizza oven
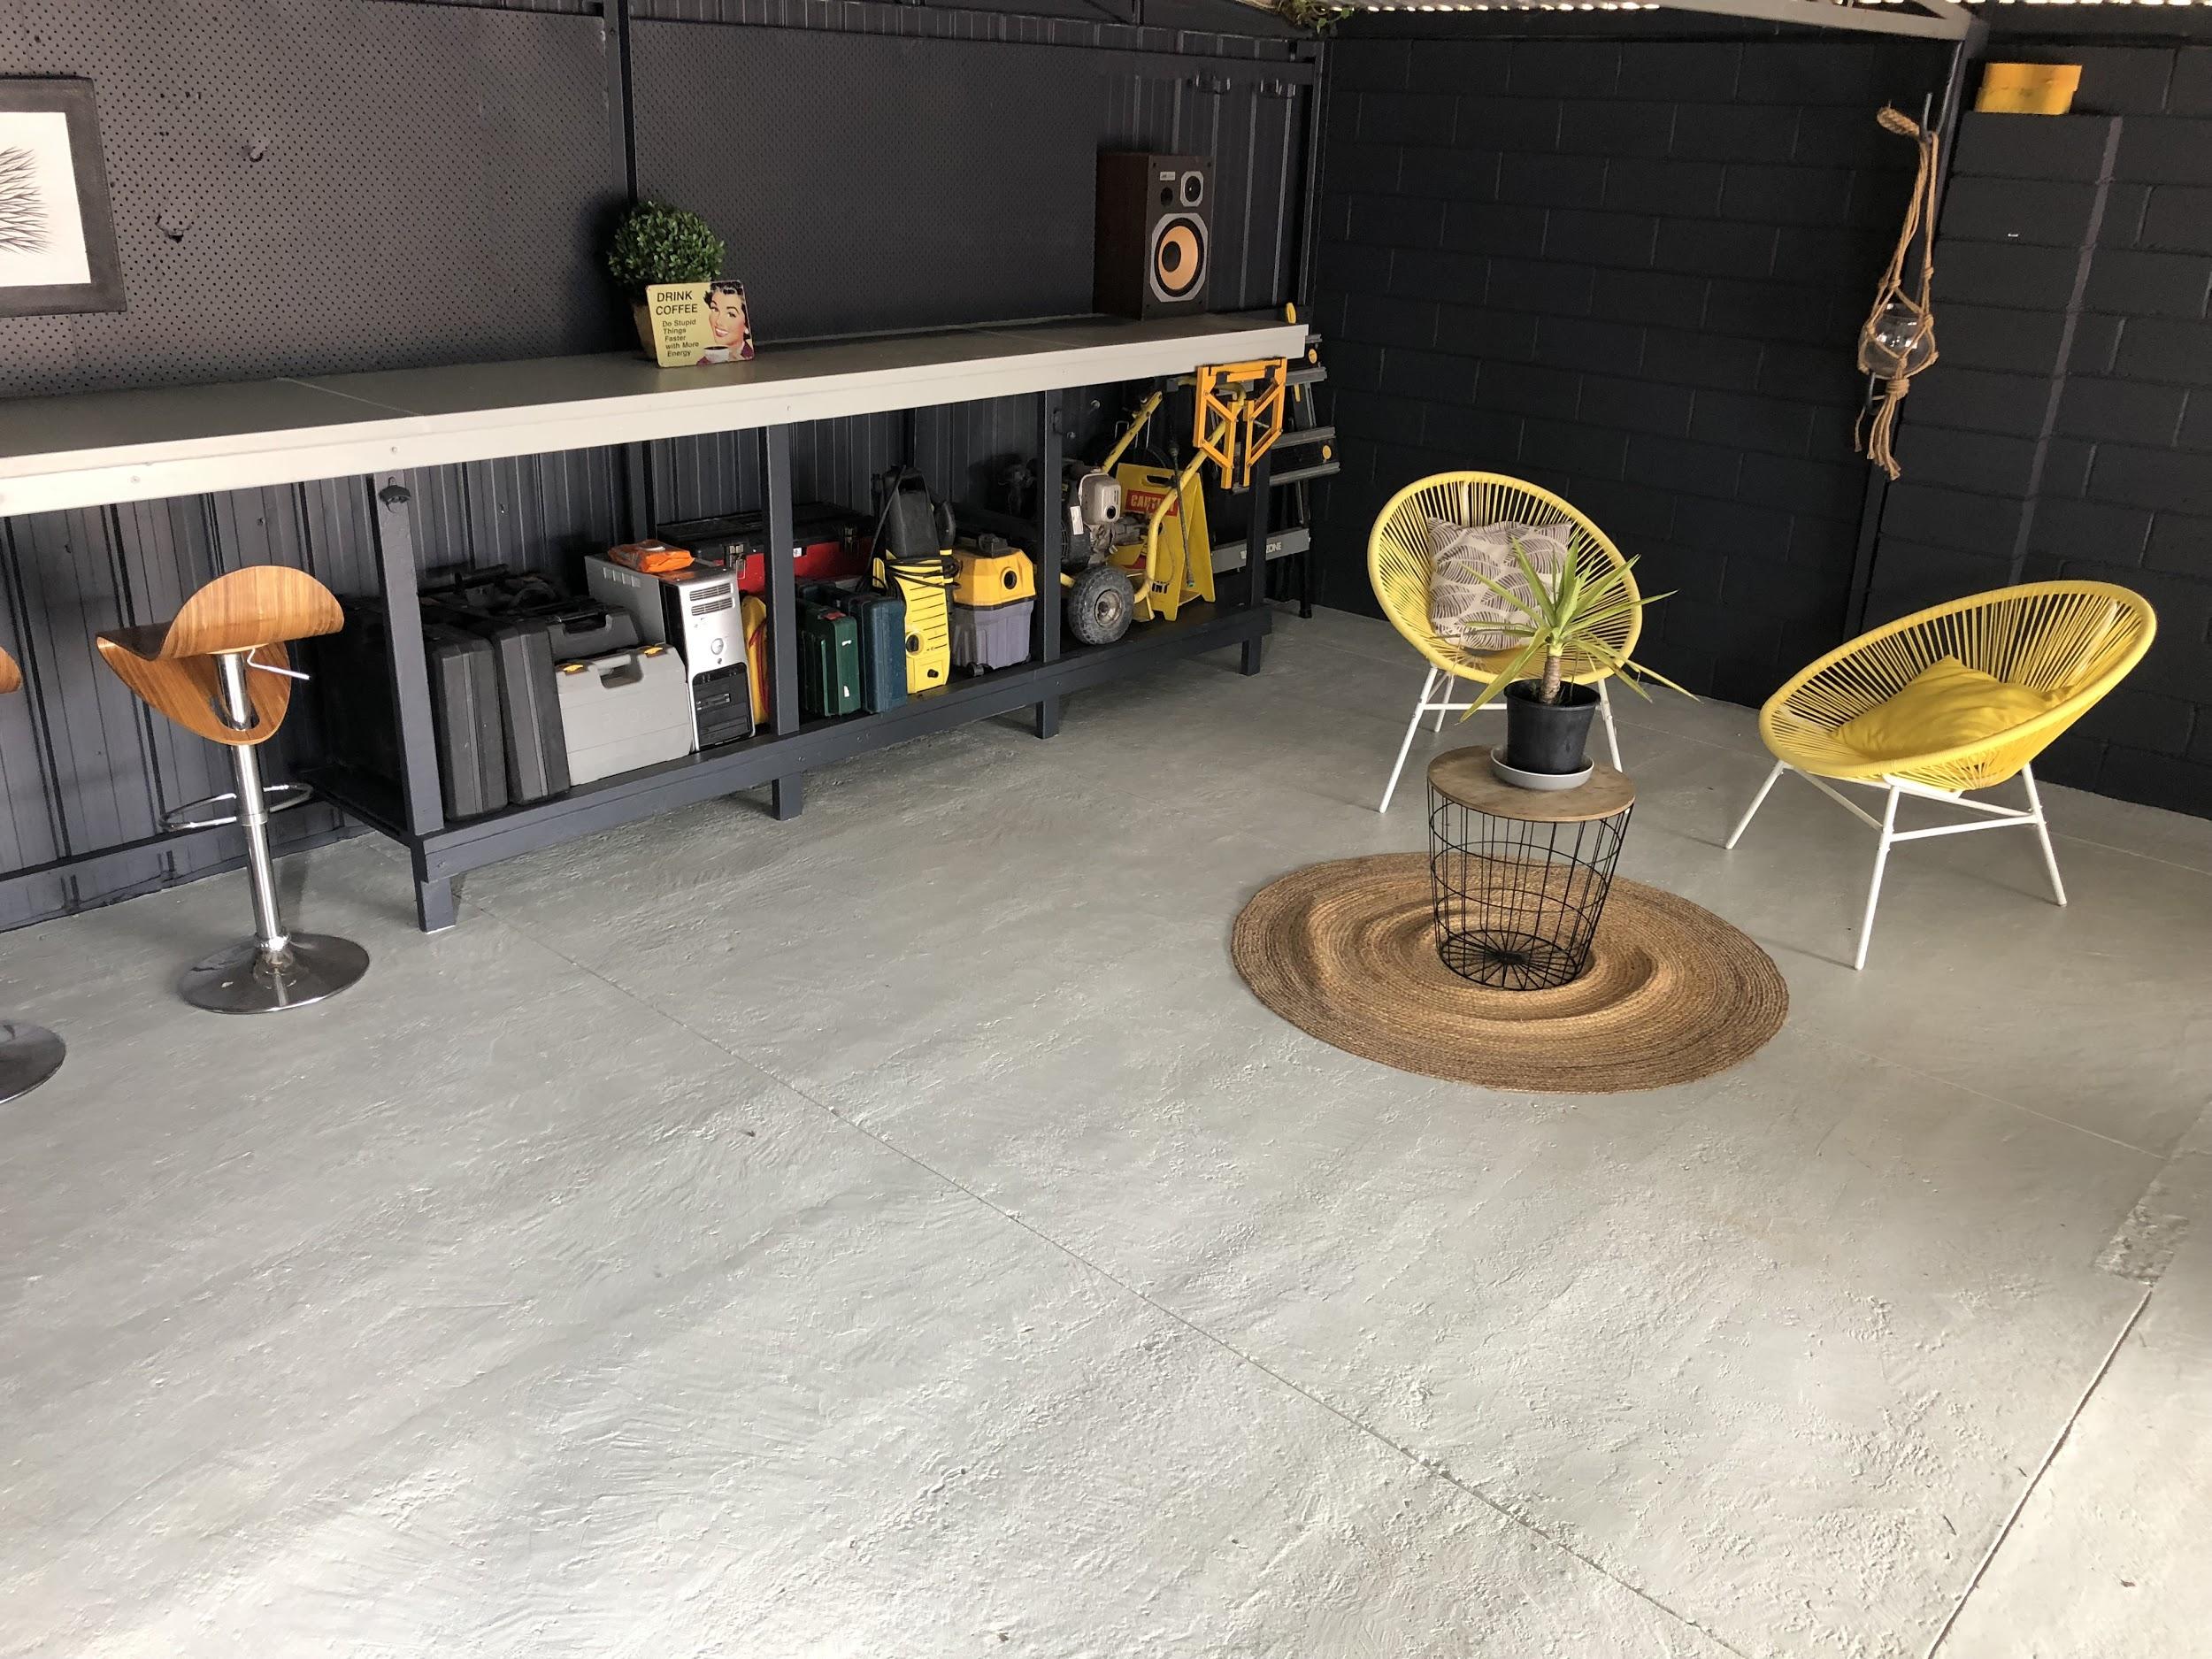
The White Knight Paint completely transformed our shed space and refreshed the concrete completely

White Knight Concrete Etcher, White Knight Ultra Pave Quick Dry Formula Paint $184 + Etcher $25 – Available at Bunnings & Taubman Stores
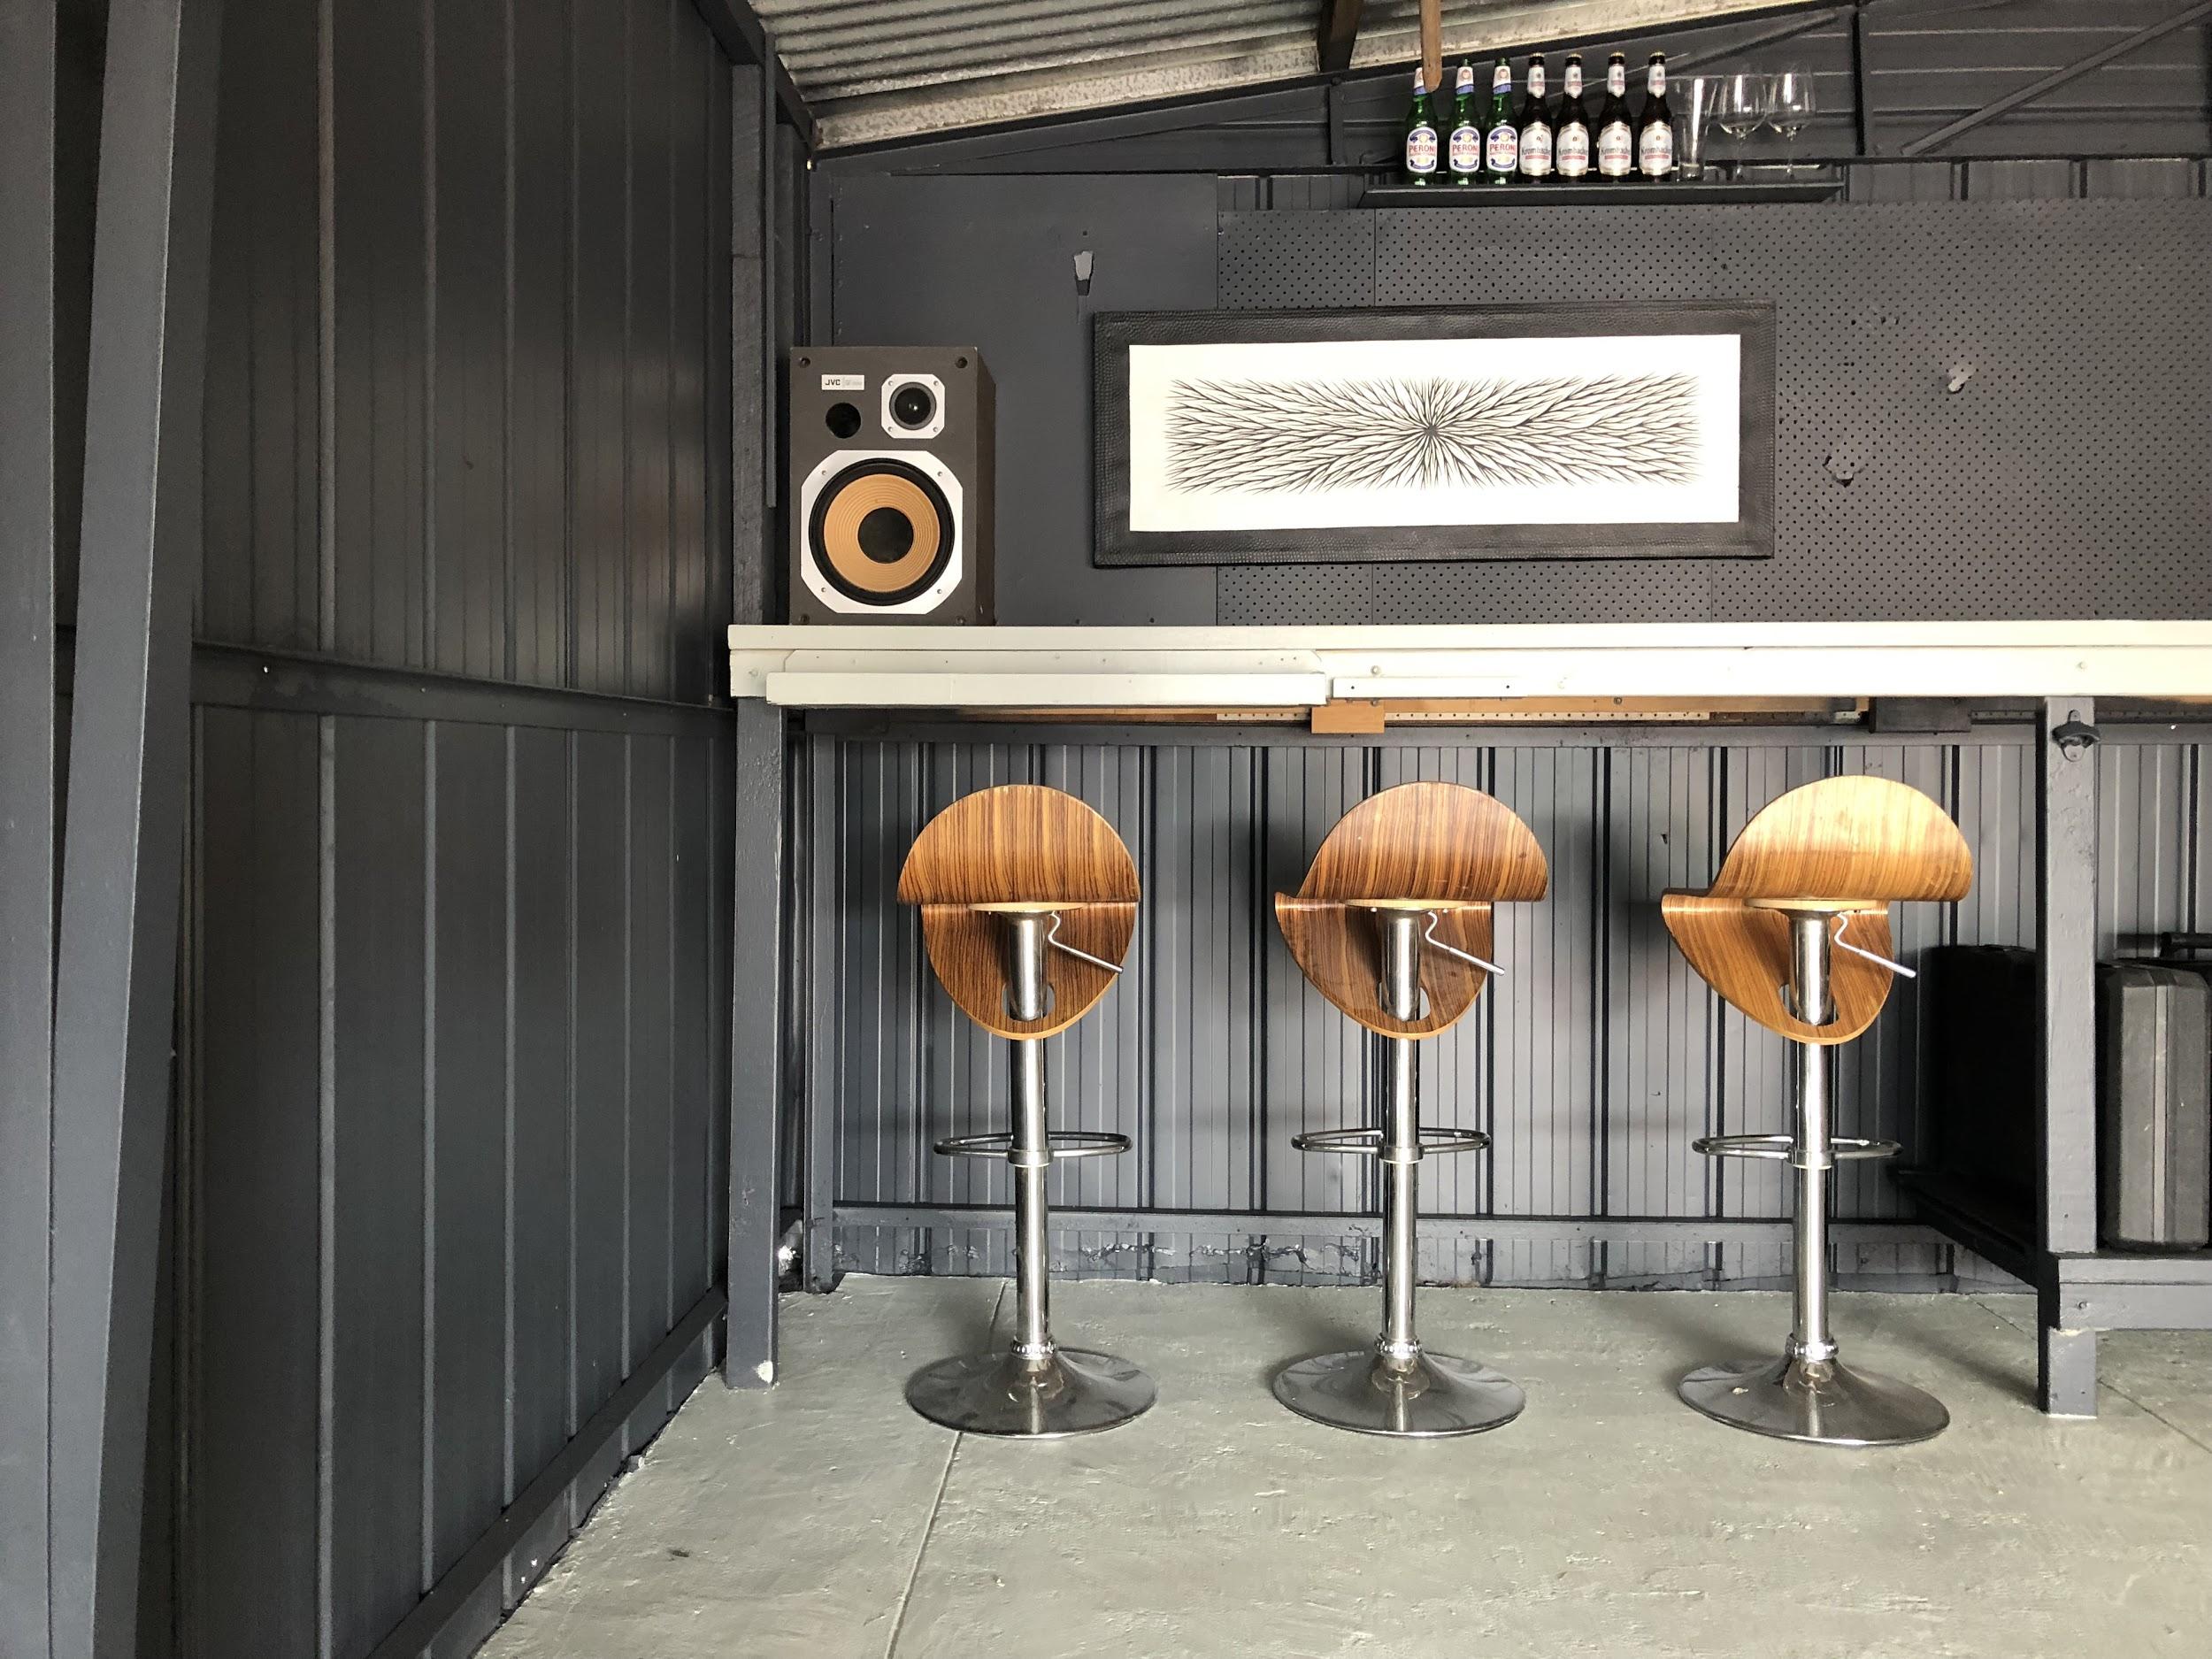
Bar Stools – Facebook Marketplace $40
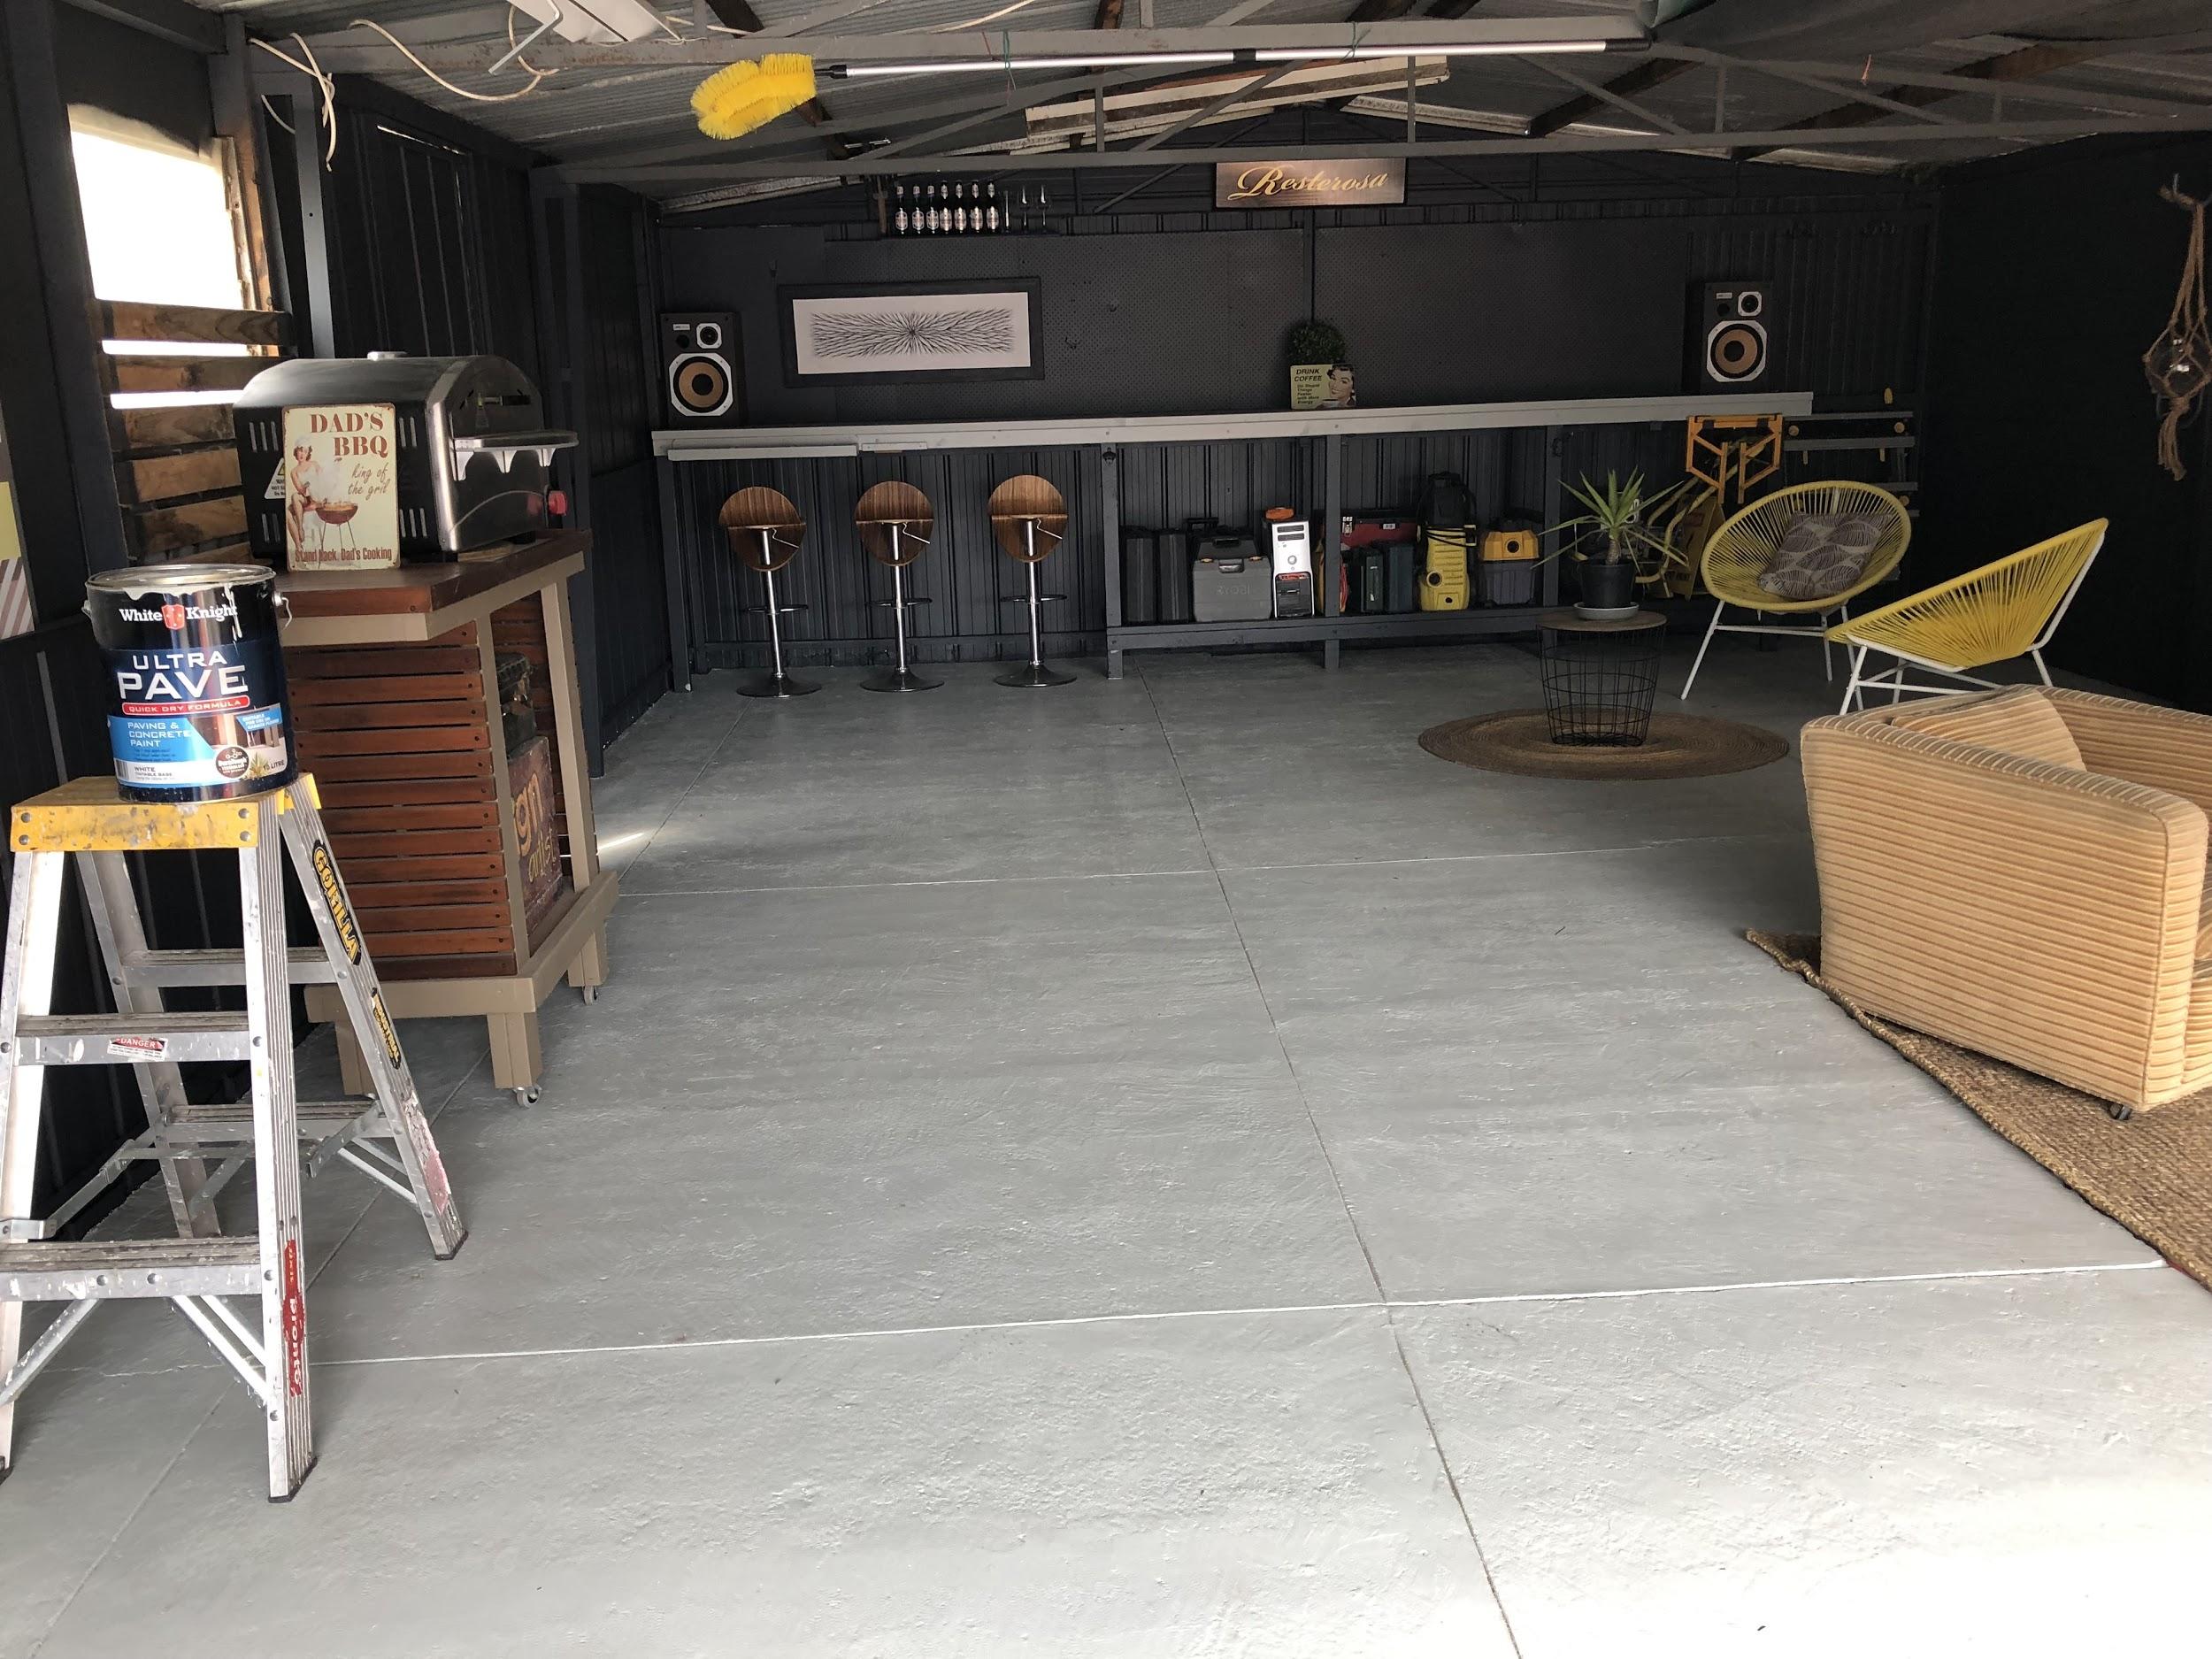
The results were amazing. Read on and watch Richard Petersen’s explanation of why the results surprised him.
Finally…here are our biggest reno tips for people on the smallest budgets (like us!)
The total cost of this amazing renovation was drumroll…
- Always get the right information before beginning any renovation product
- Never pay full price for products you can purchase secondhand like furniture
- Definitely plan and cost-out all renovation projects beforehand
- Be prepared to wait. Never be in a rush to do a renovation. If you wait for the right renovation products to appear – you will save thousands on your renovation.
- Use hard-wearing long-lasting products you don’t have to spend money on again
Final Tally & Meeting Our $250 Budget
$249
Our budget was $250. So we came in just under budget.
I LOVE it when I meet the budget and I have money leftover (even if it was just $1). Much like Richard with leftover paint – it’s the little things that make me happy.
I’m giving the whole family a pat on the back for a job well done. We stuck the extra dollar in our piggy. We’re saving for a holiday and every penny counts.
Now we all have an amazing place to hangout.
Next…we’re on the hunt for a FREE pool table to really get our shed party started.
Read more about White Knight paint here.


 YOU
YOU





 Money
Money


 FOOD
FOOD




 FAMILY LIFE


 HOME & GARDEN





 ORGANISE

 EVENTS





 LIFESTYLE

